TECHNICAL

Mobile Photography Part 1: Return to Innocence

Recently I've been wondering which projects I should take up in 2022. I don't know if I am the only one but I've found it a bit difficult to get started in photography this year. What does one do when there is the will but a lack of opportunity? Or vice versa? What should one do when you feel like you have hit a creative block? I've certainly felt "stuck in a rut" recently. It happens to all of us every once in a while, but the recent mix of the pandemic and general downturn of 2021 has left some of us with very little creative energy. My approach to photographer's block has usually one of the following:

  1. Change direction by buying new gear - while a fun idea, it is not always feasible or fiscally responsible;

  2. Set yourself a mini project or try something completely new from a tutorial ;

  3. Go back to basics

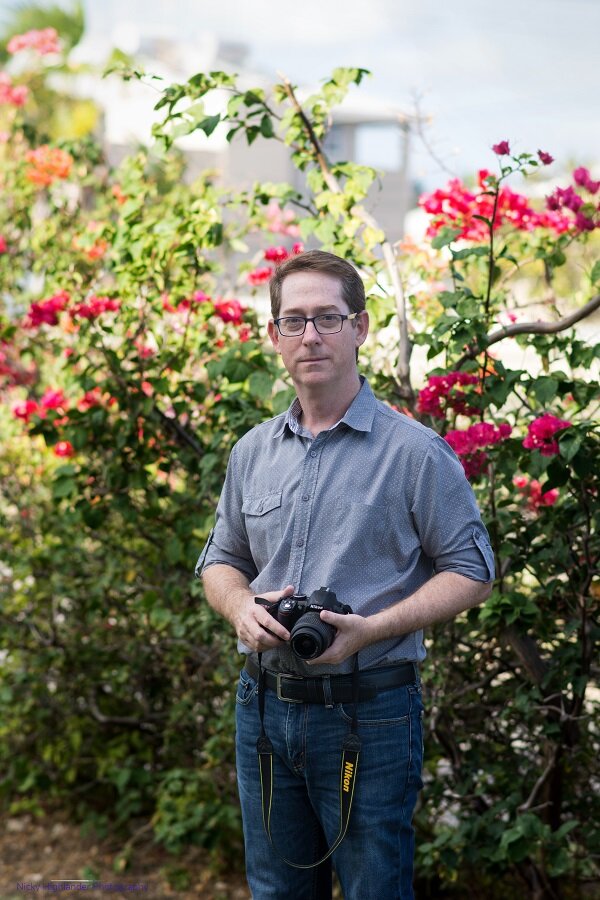
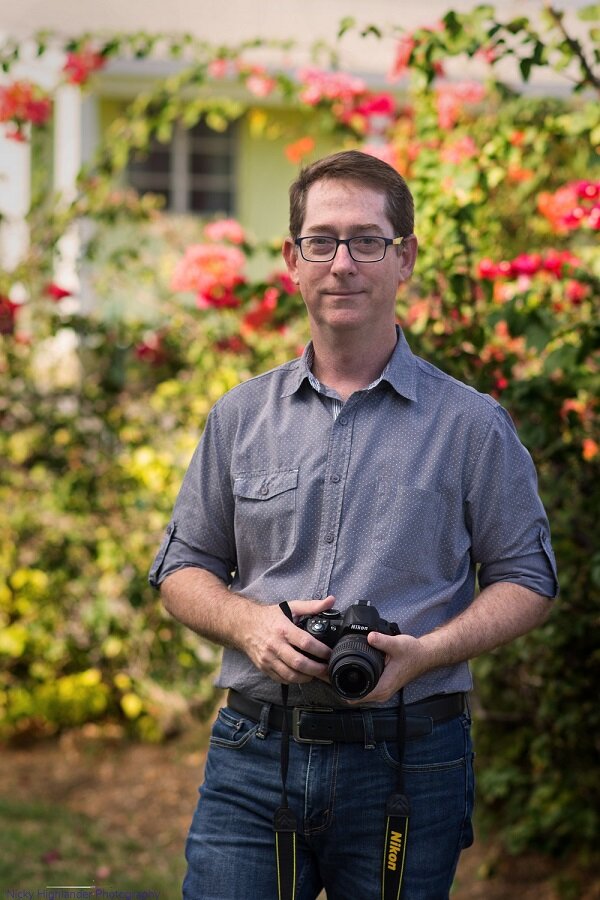
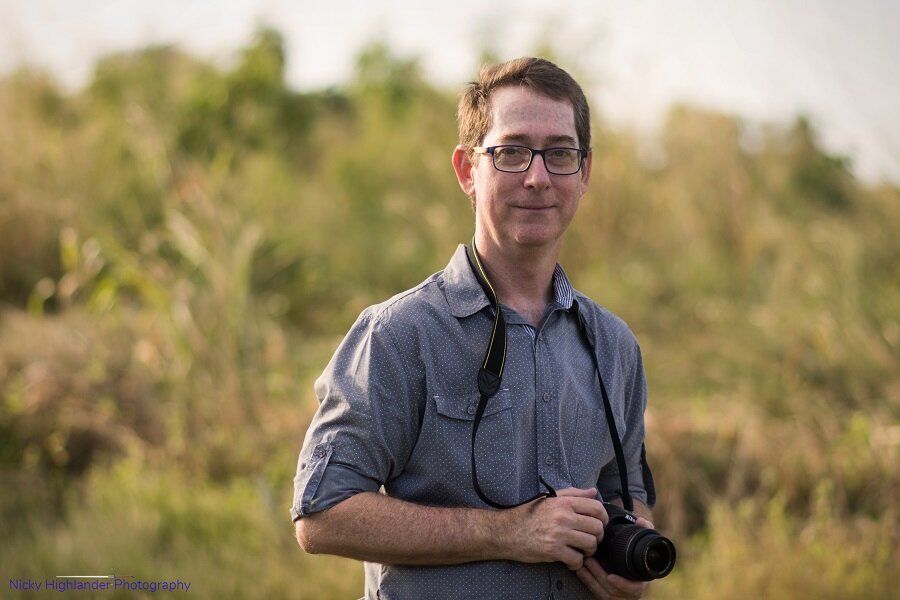
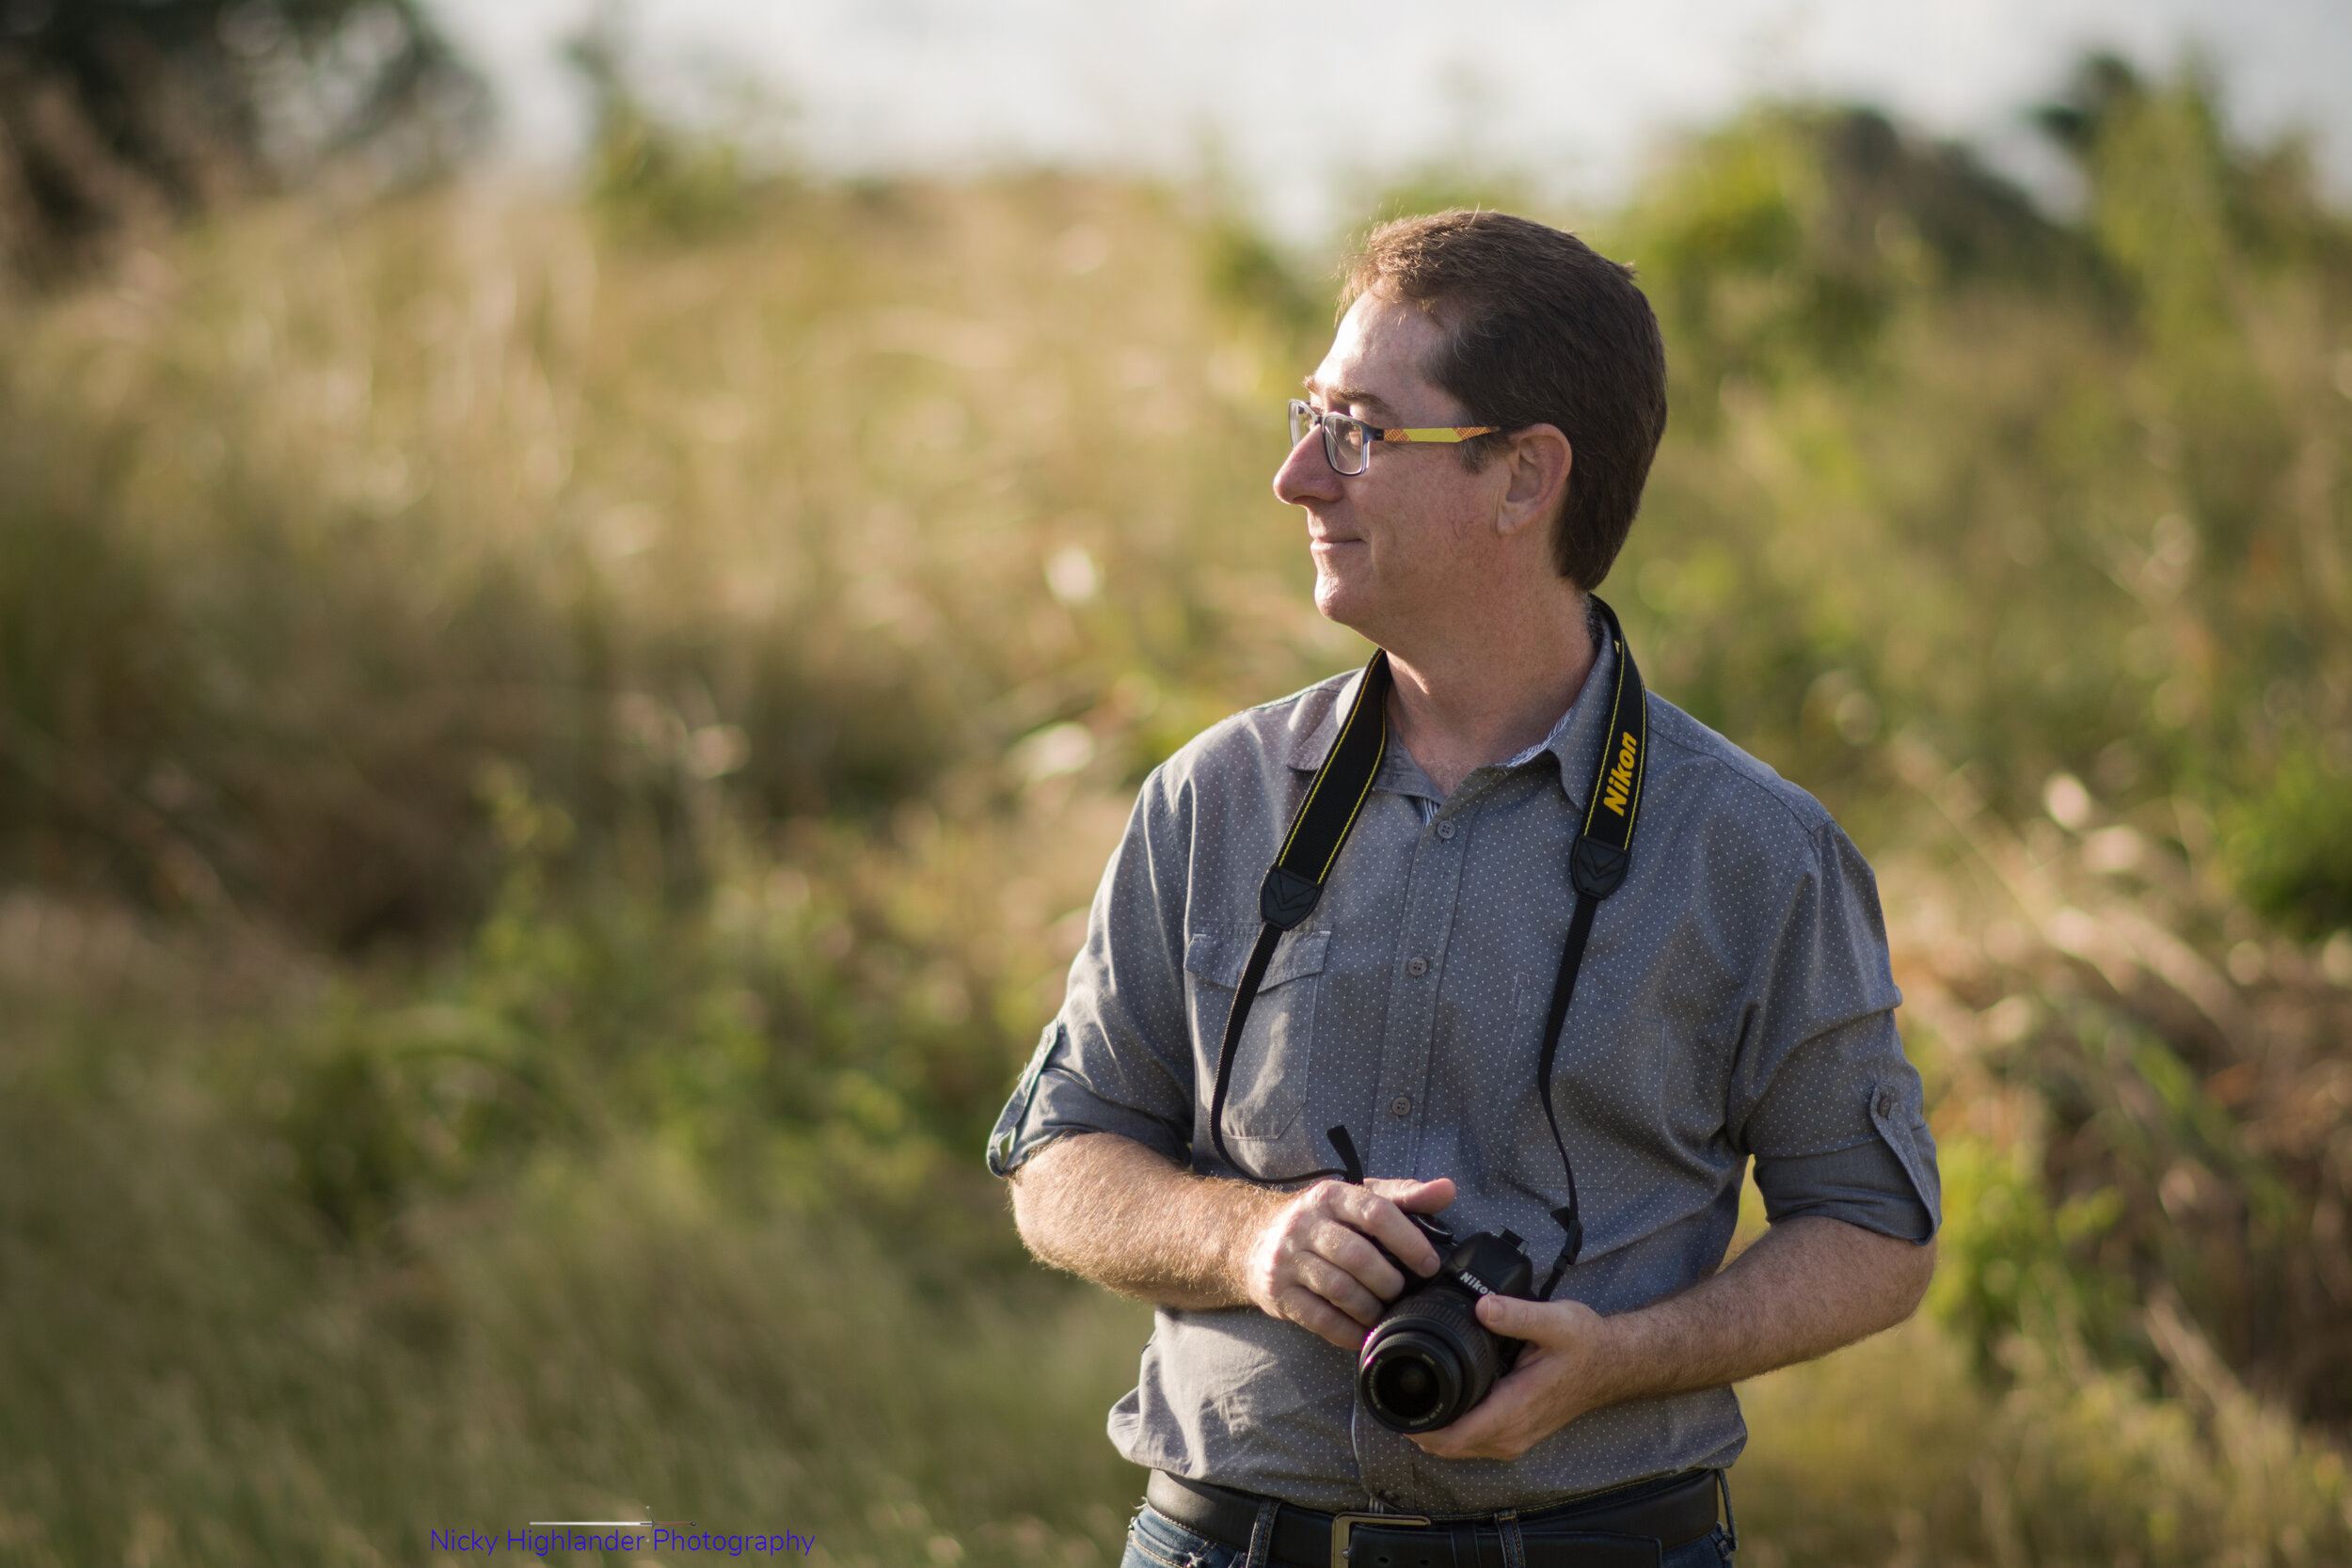
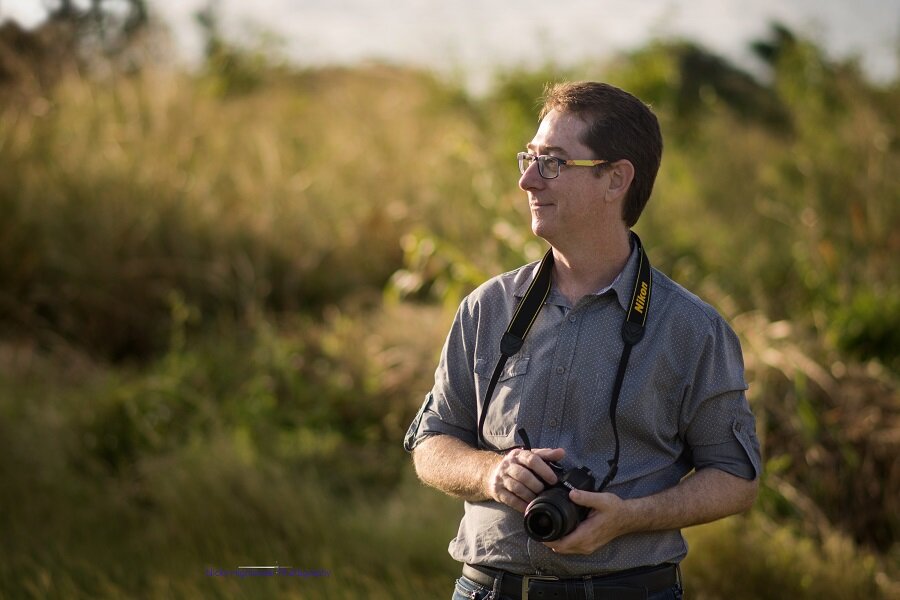
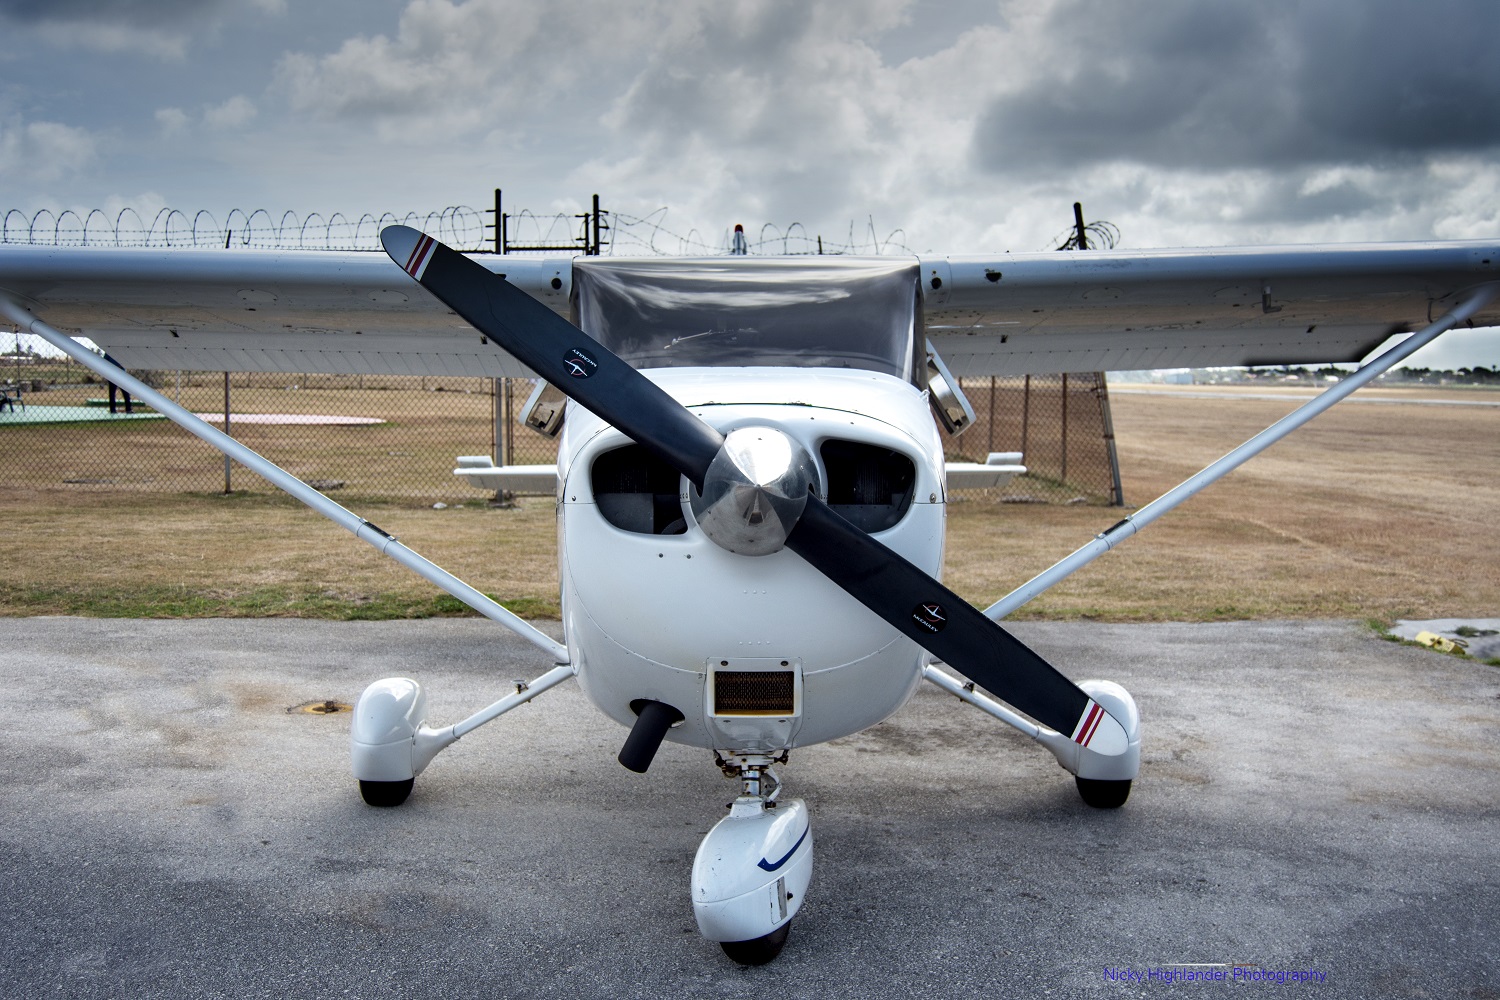
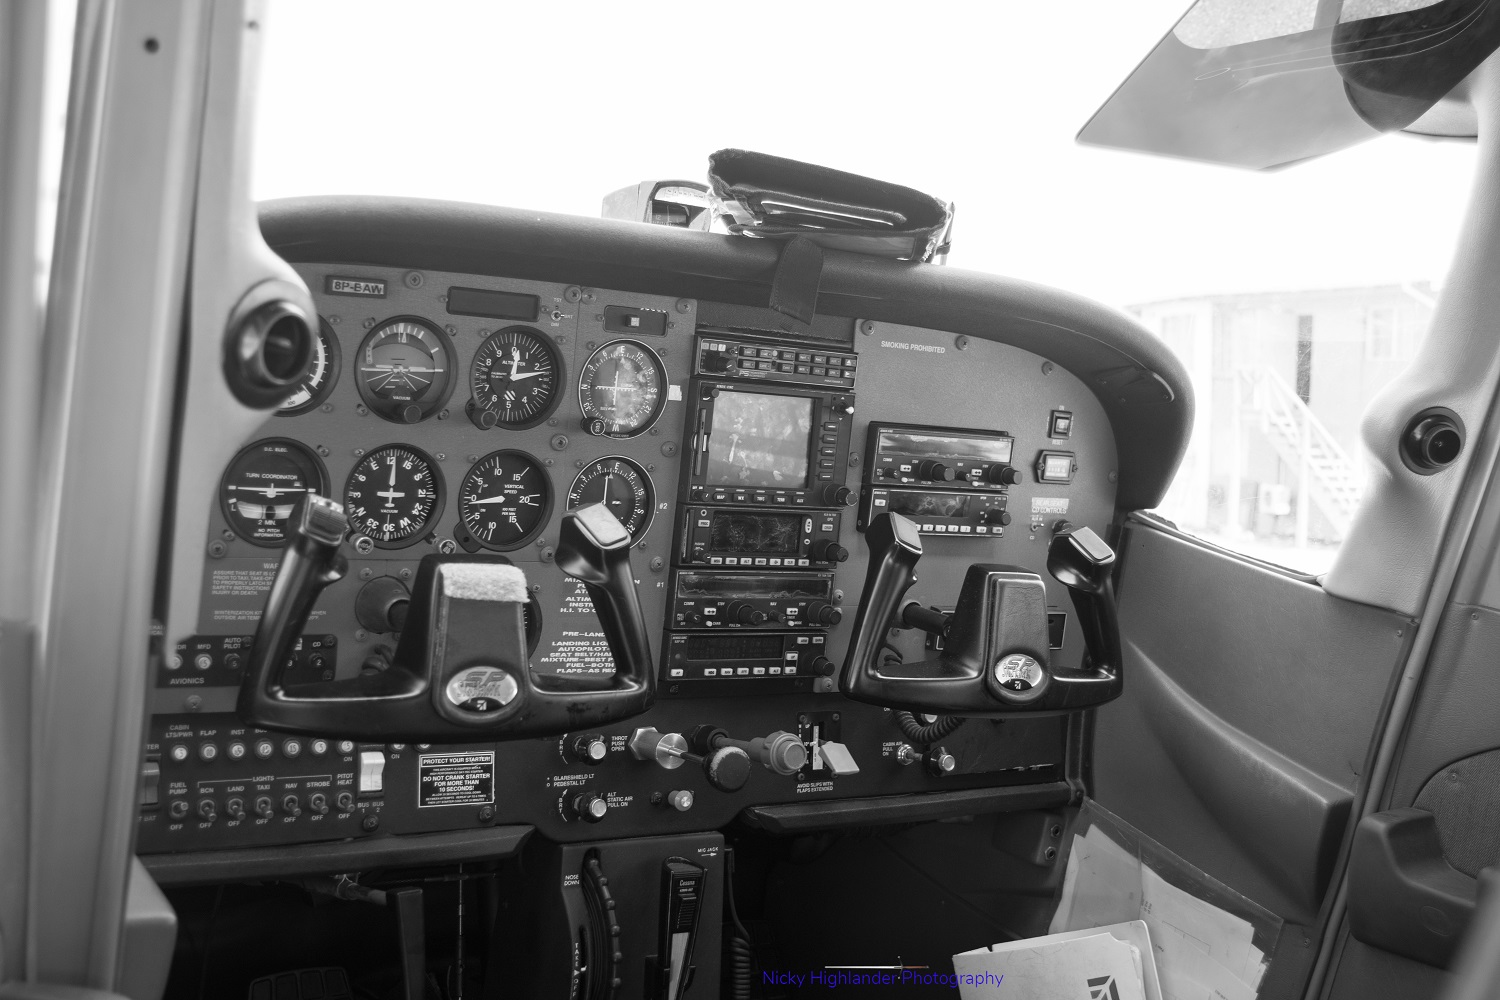
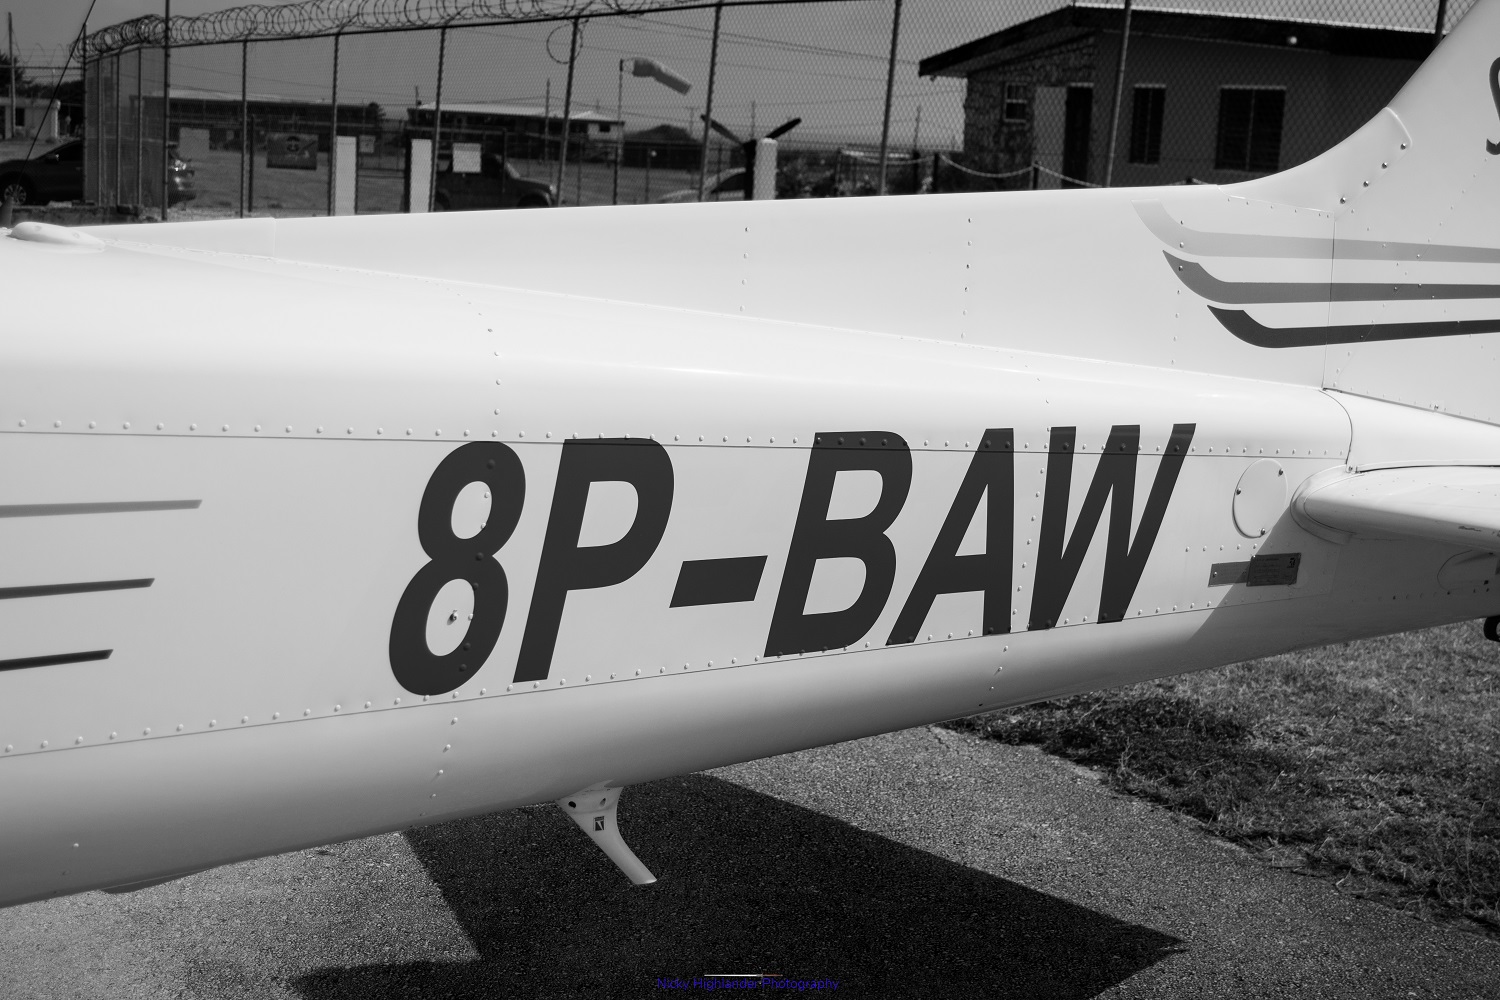
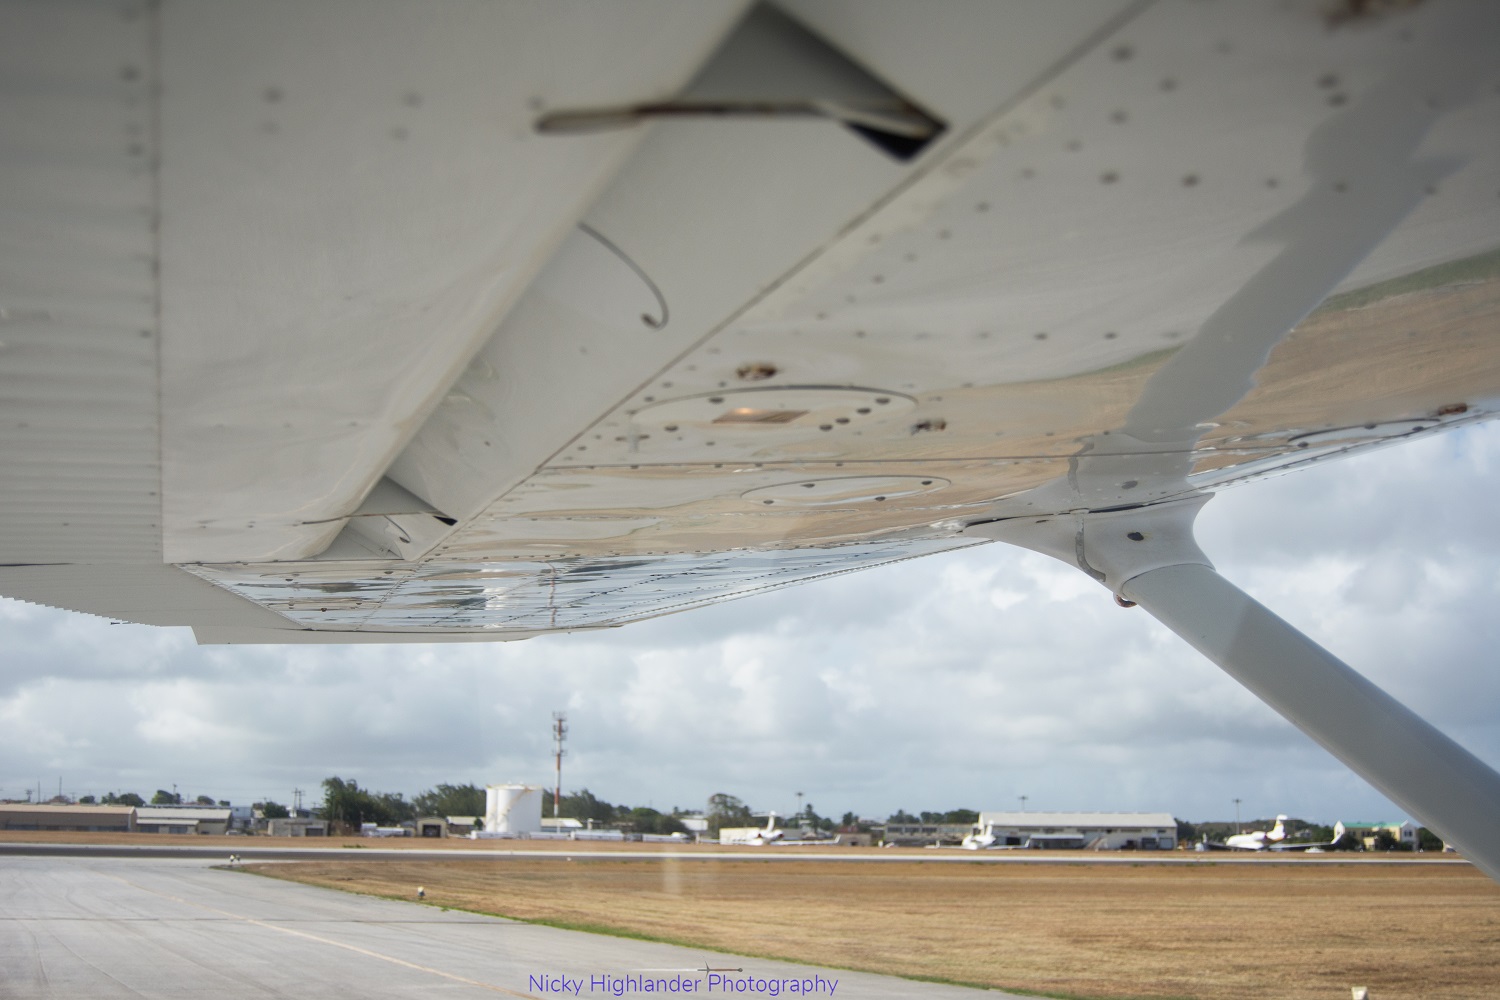
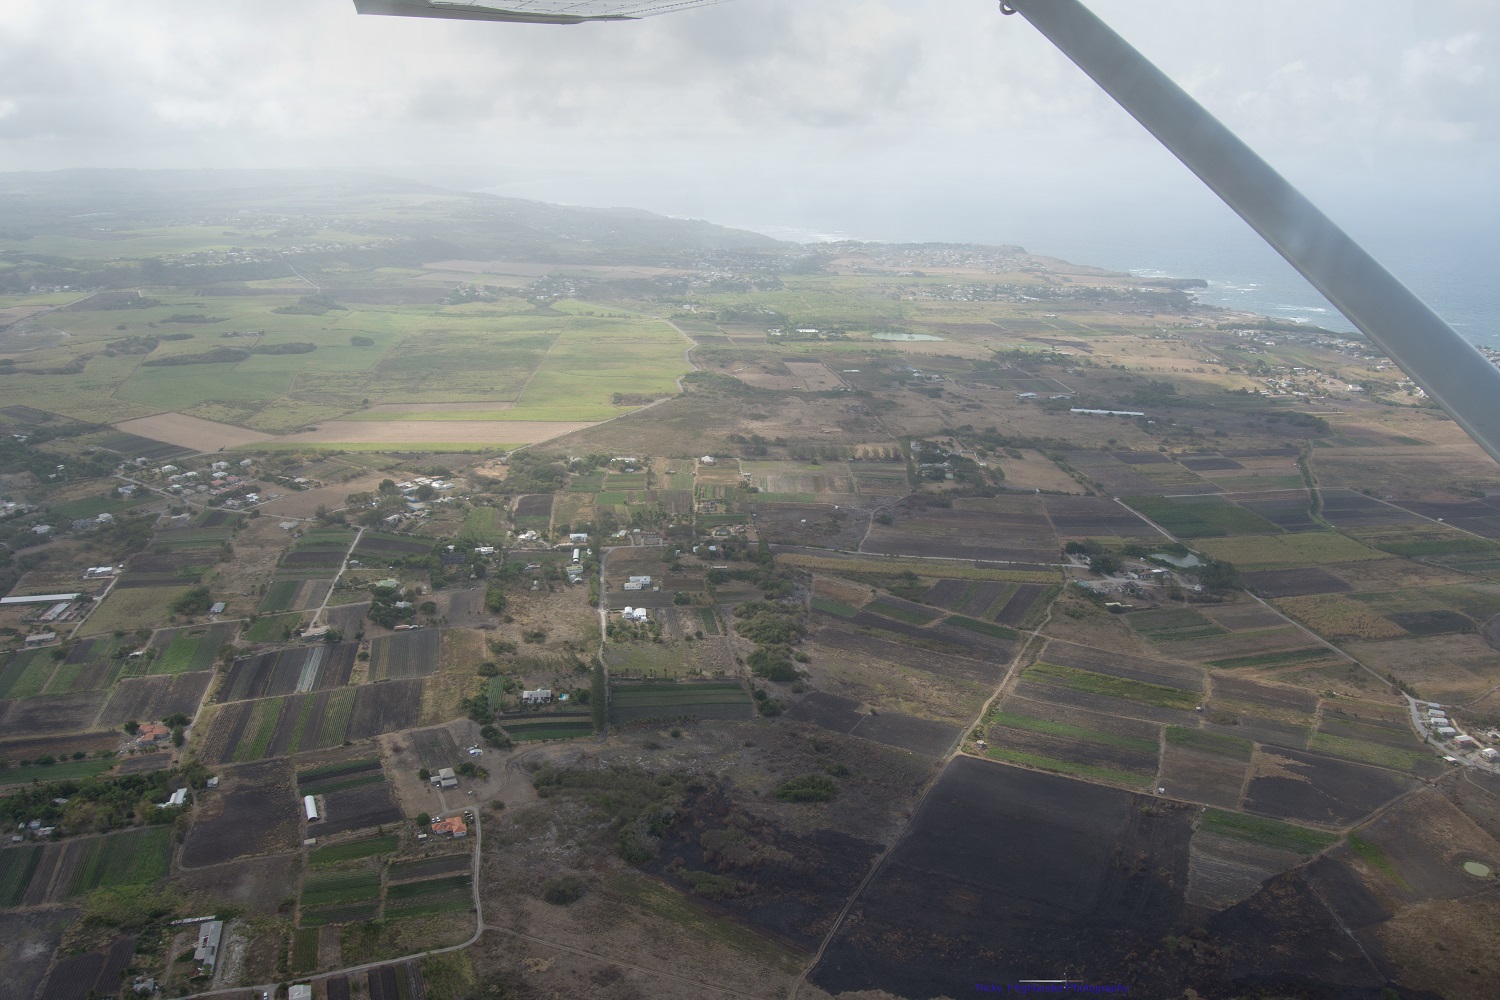
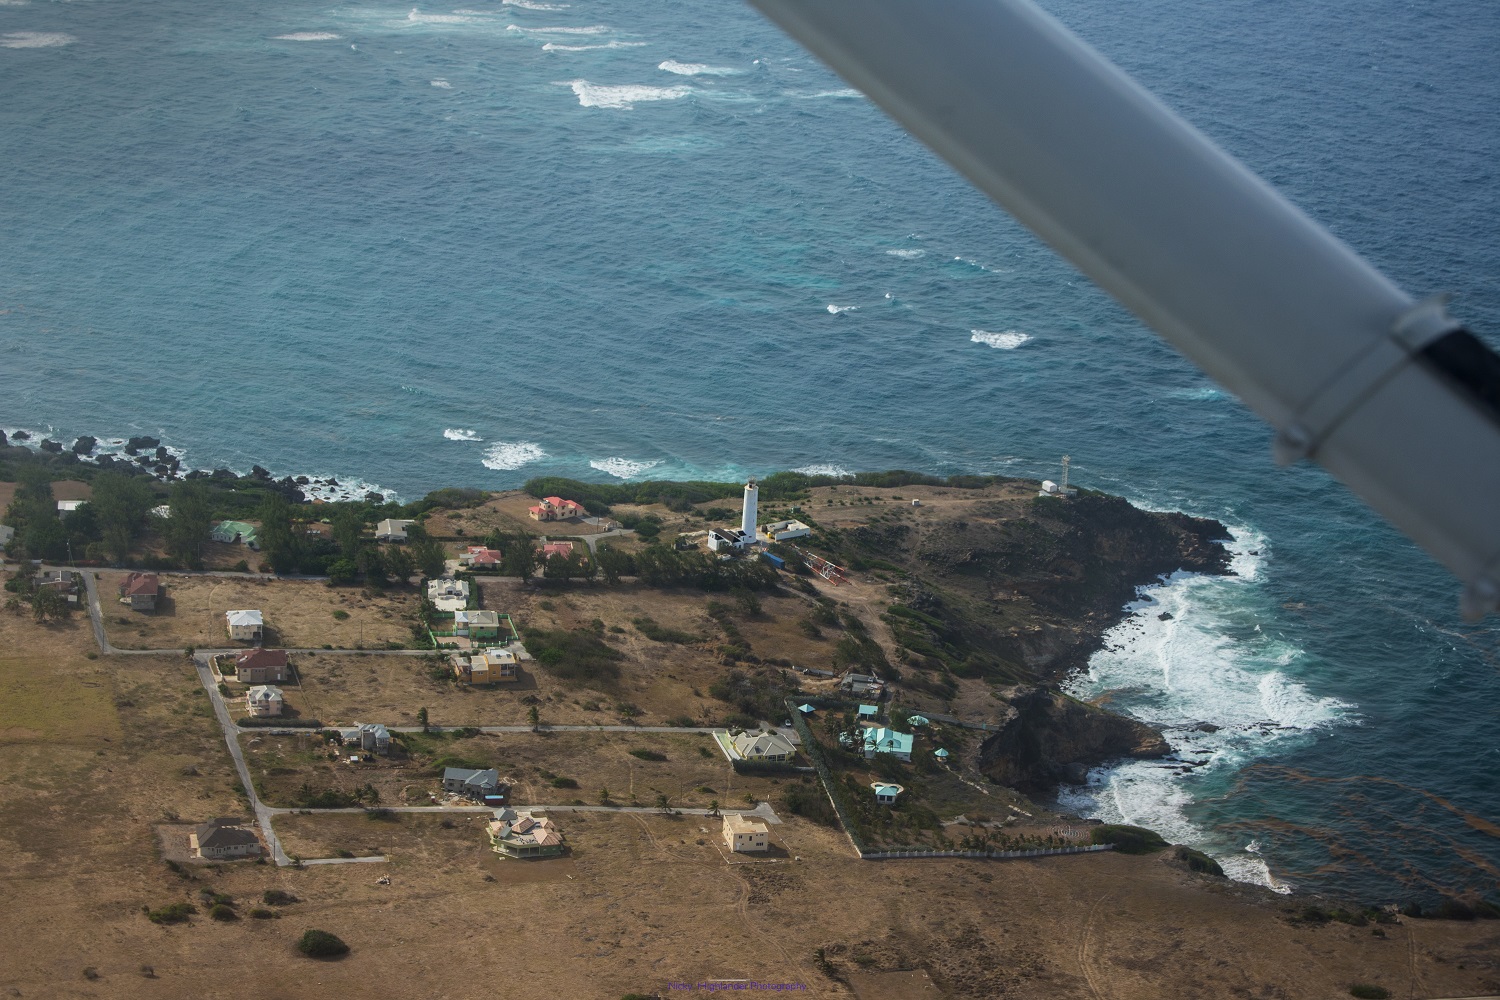
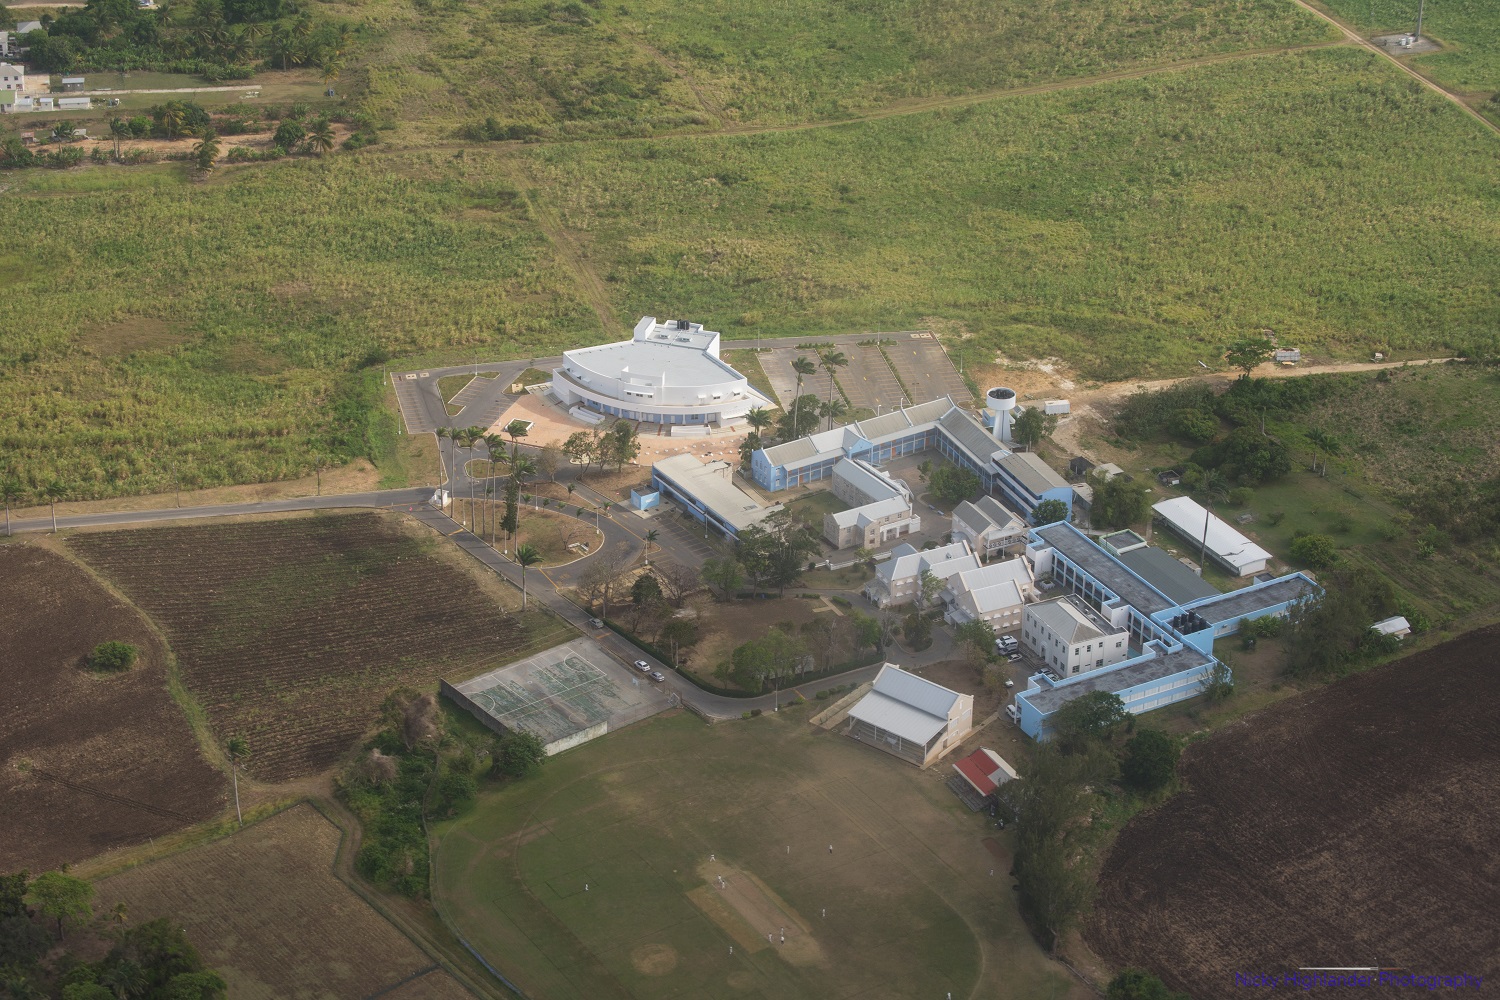
In this case, I decided to combine options #2 and #3. In the past, I've always considered mobile photography to be frivolous at best. I'm old fashioned so my phone was mostly for making calls. The substandard camera was solely for taking photos in case of an accident or getting a number on a billboard when I didn't have a pen. But much like DSLR cameras, mobile phone capabilities have moved beyond the grainy 0.35 megapixel images. There exists a number of lenses and lighting equipment available specifically for mobile phones. This brings a powerful tool into the hands of more amateurs without a need for much "technical know how" or jargon. So where does that leave the old fashioned enthusiasts and professionals? I don't think that the mobile phone is ready to replace the creative flexibility of its DSLR/mirrorless counterparts. But I do think both seasoned professionals and amateurs alike can find a lot of worth in improving their skills in mobile photography.

For some of us who started shooting digitally, we might have started on a point and shoot camera. Technically less complicated and mostly unassuming, that camera fueled our personal curiosity into the image making process. I know most purists will consider using mobile phone to be a step down from "real photography". I definitely do not agree. The real art in photography is not necessarily the priciest tools, but rather thoughtful composition and crafty storytelling. Technical ability is also key. I would rate those well above gear any and every day.

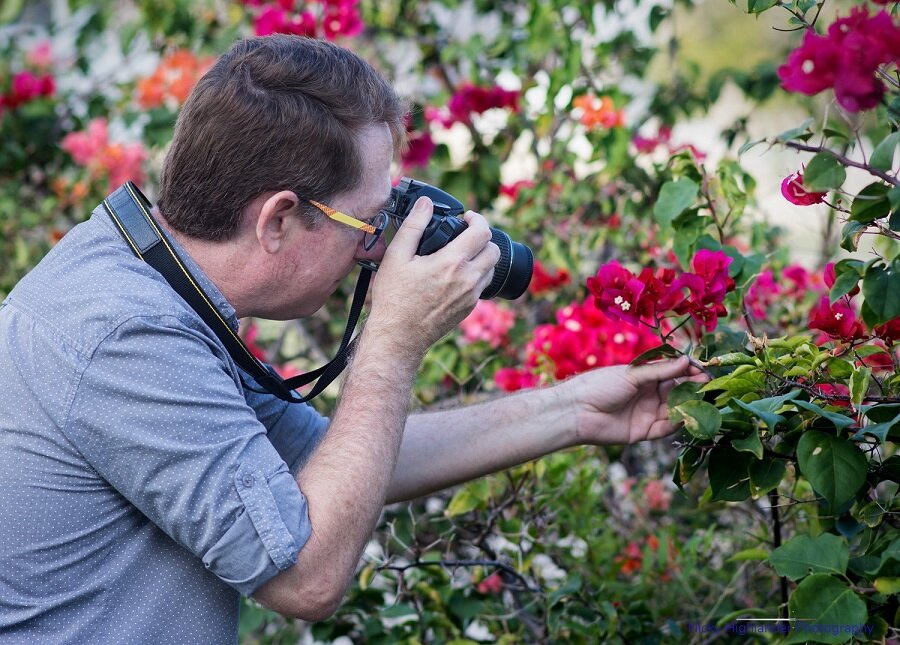
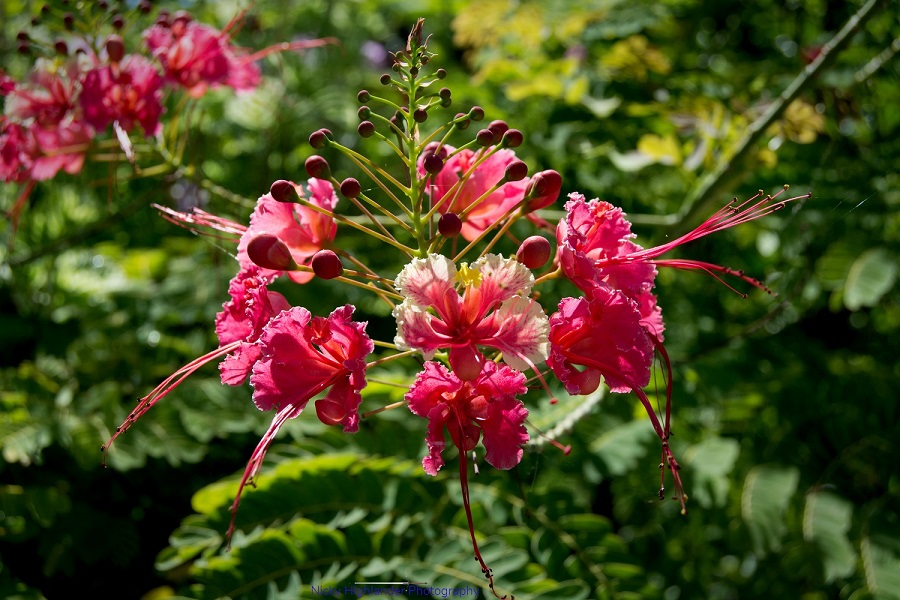
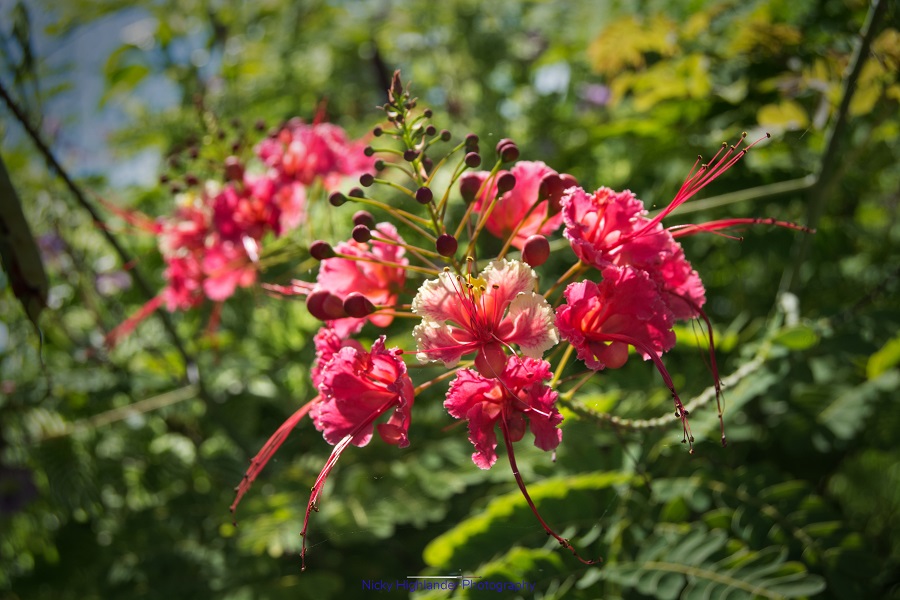
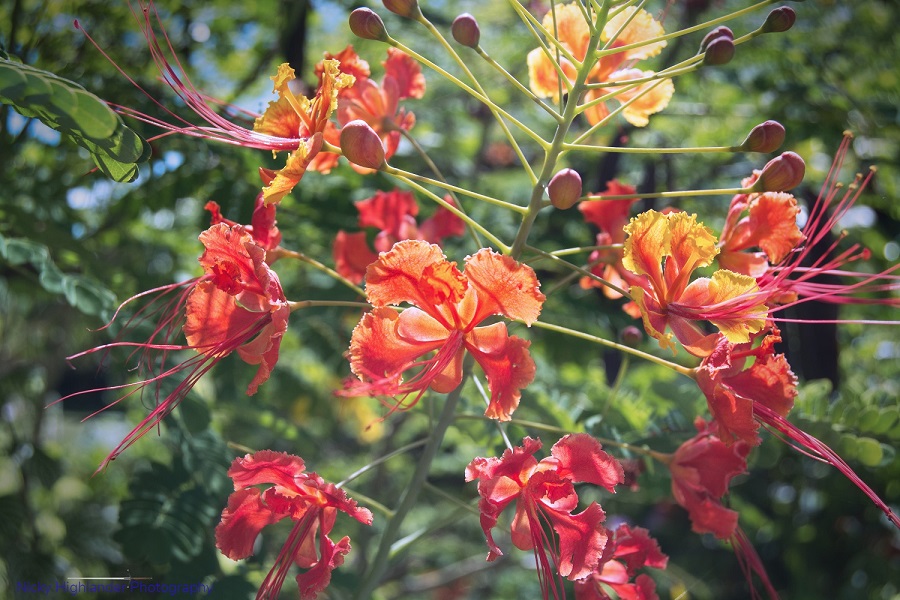
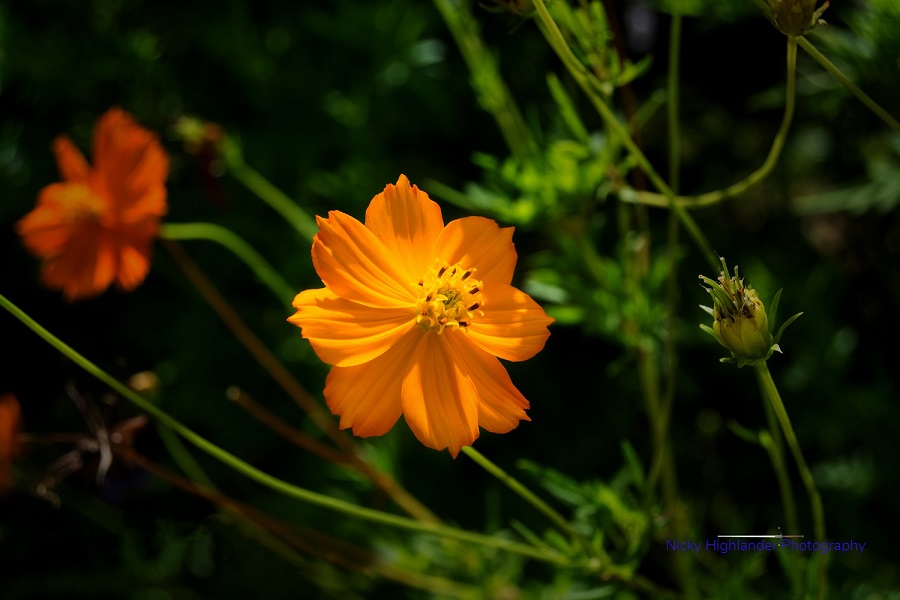
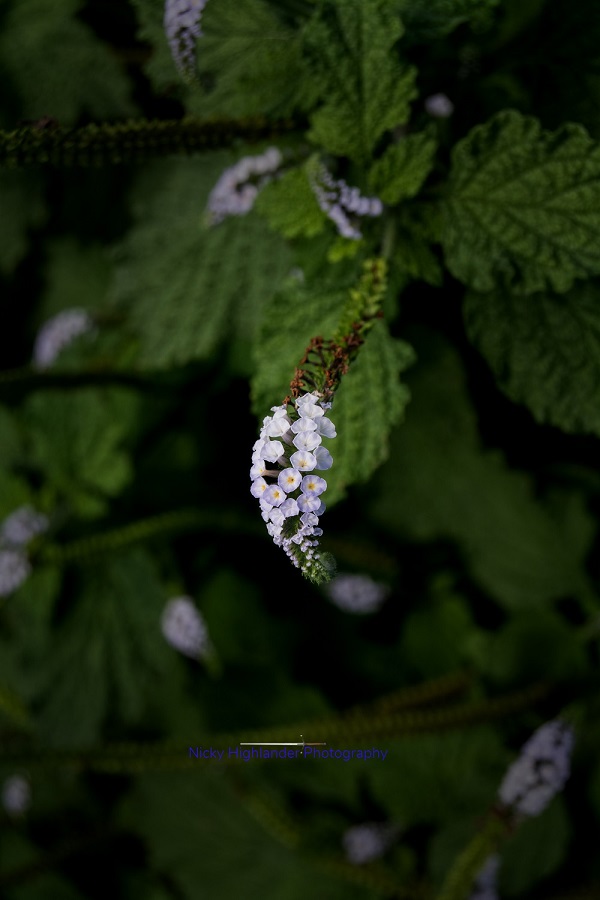
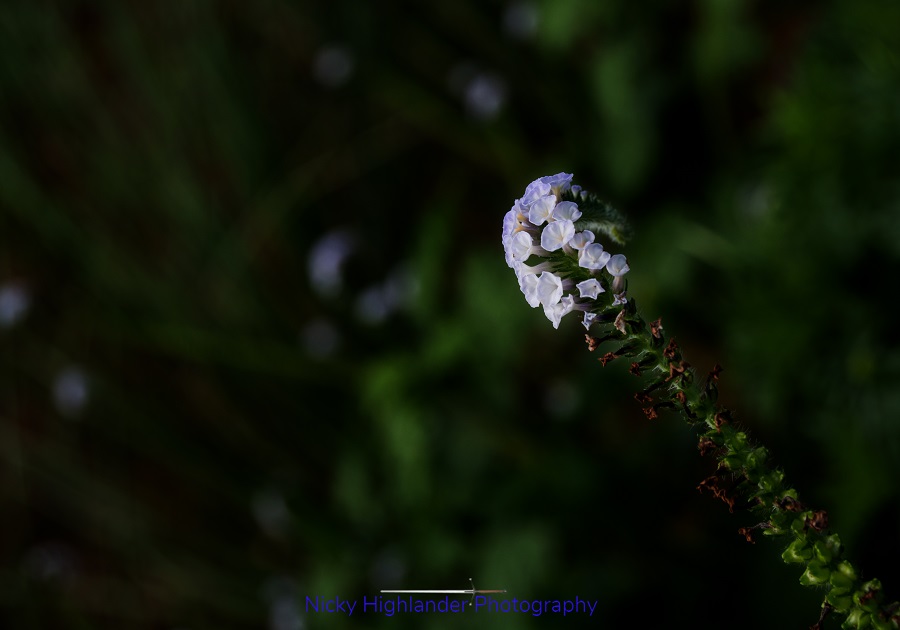
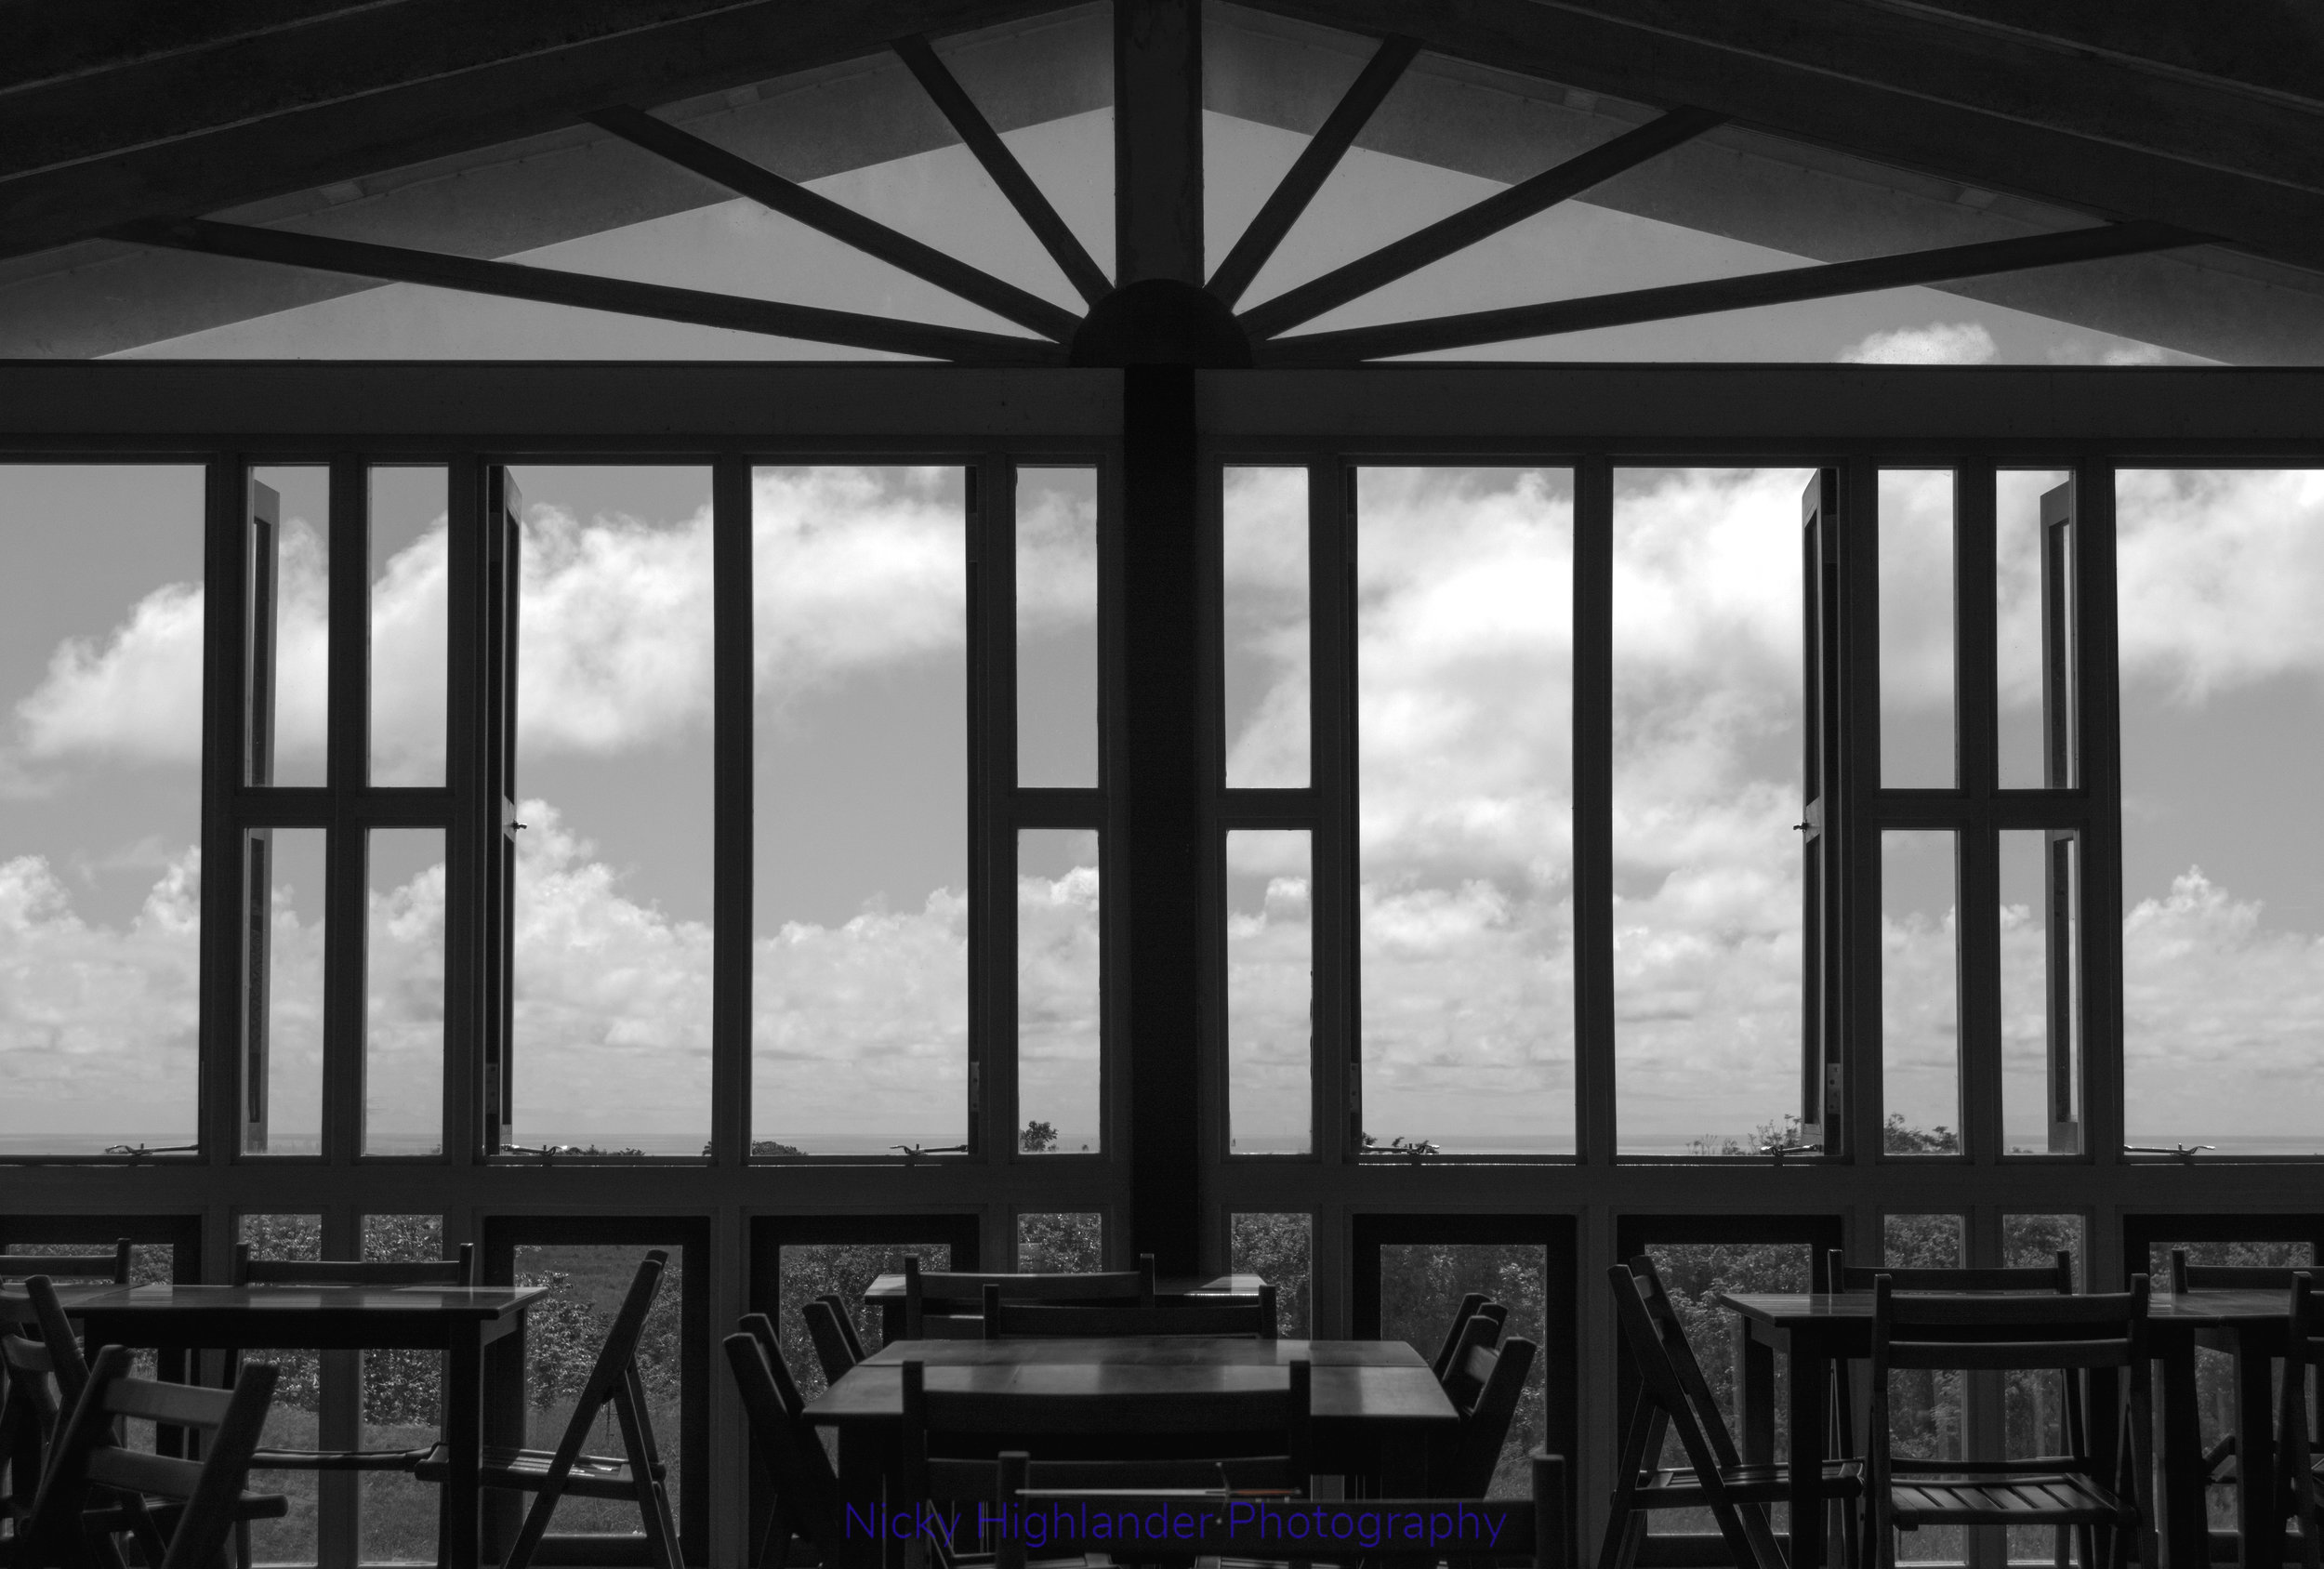
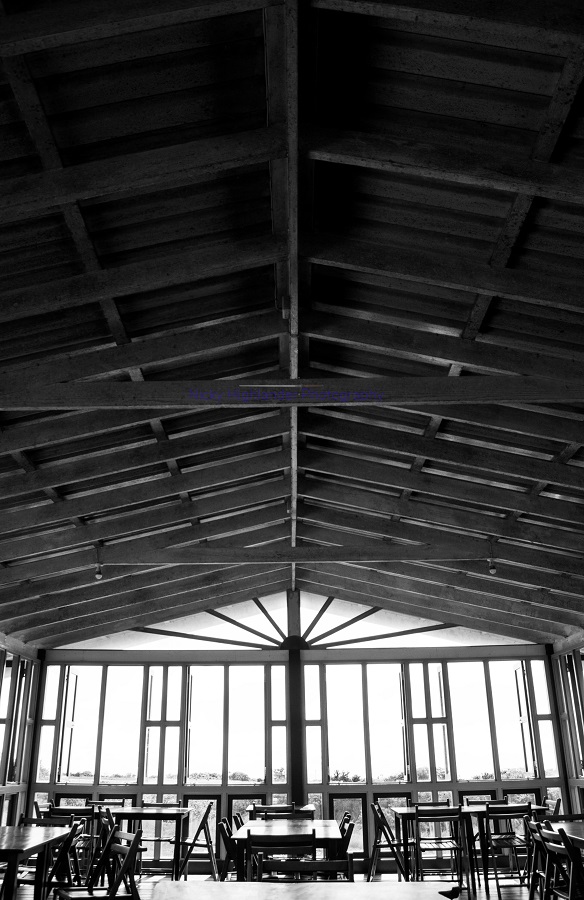
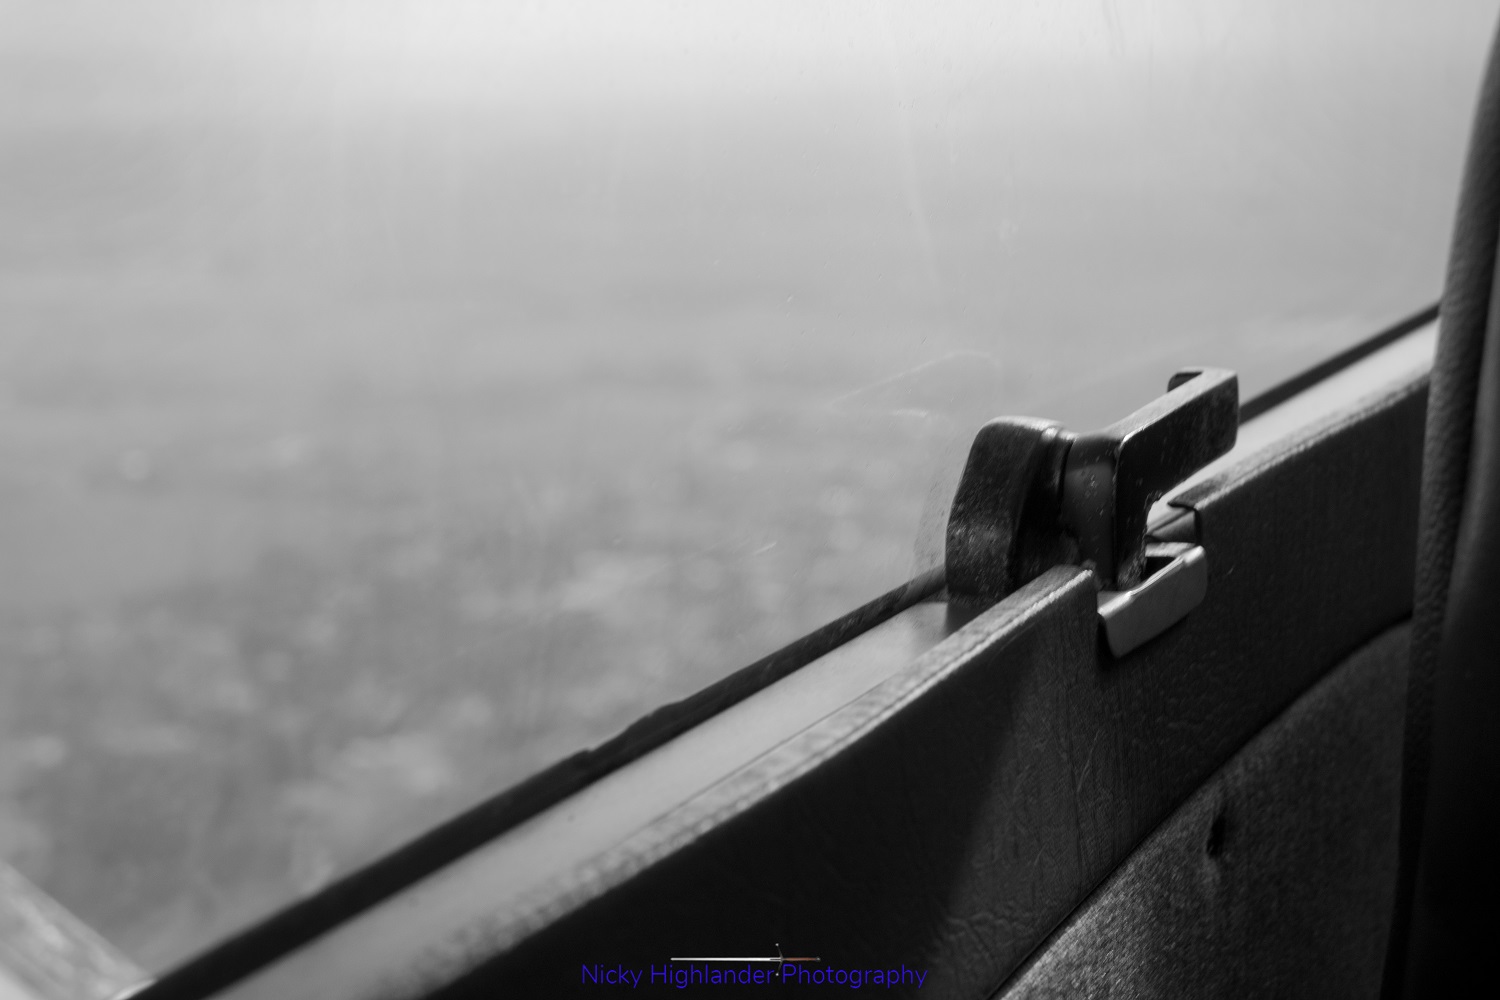
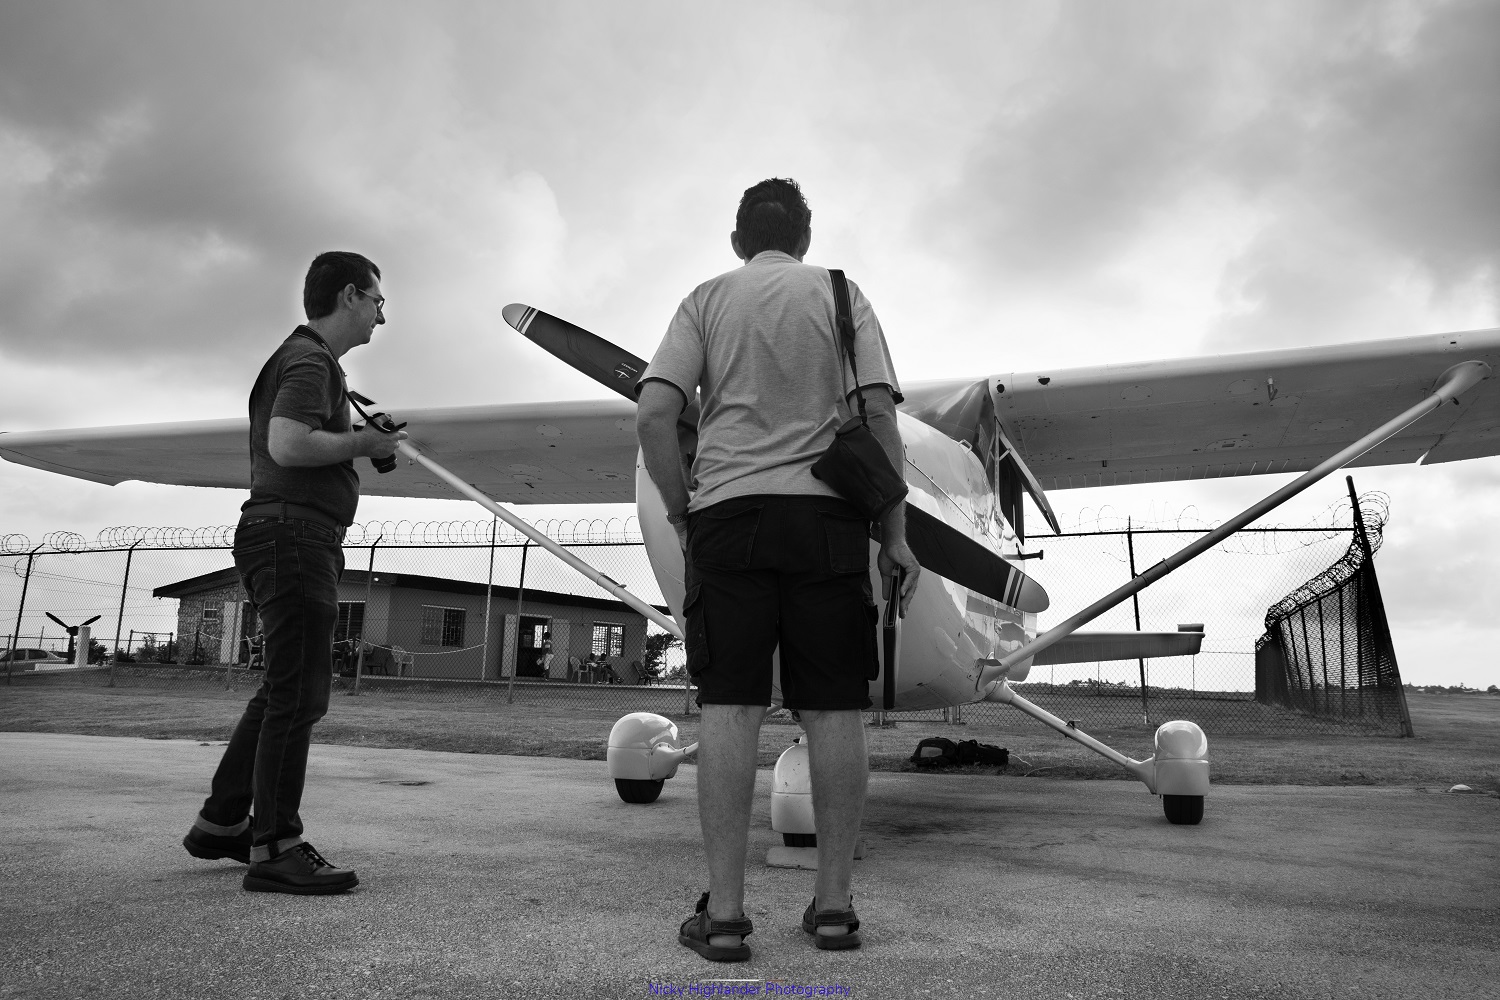
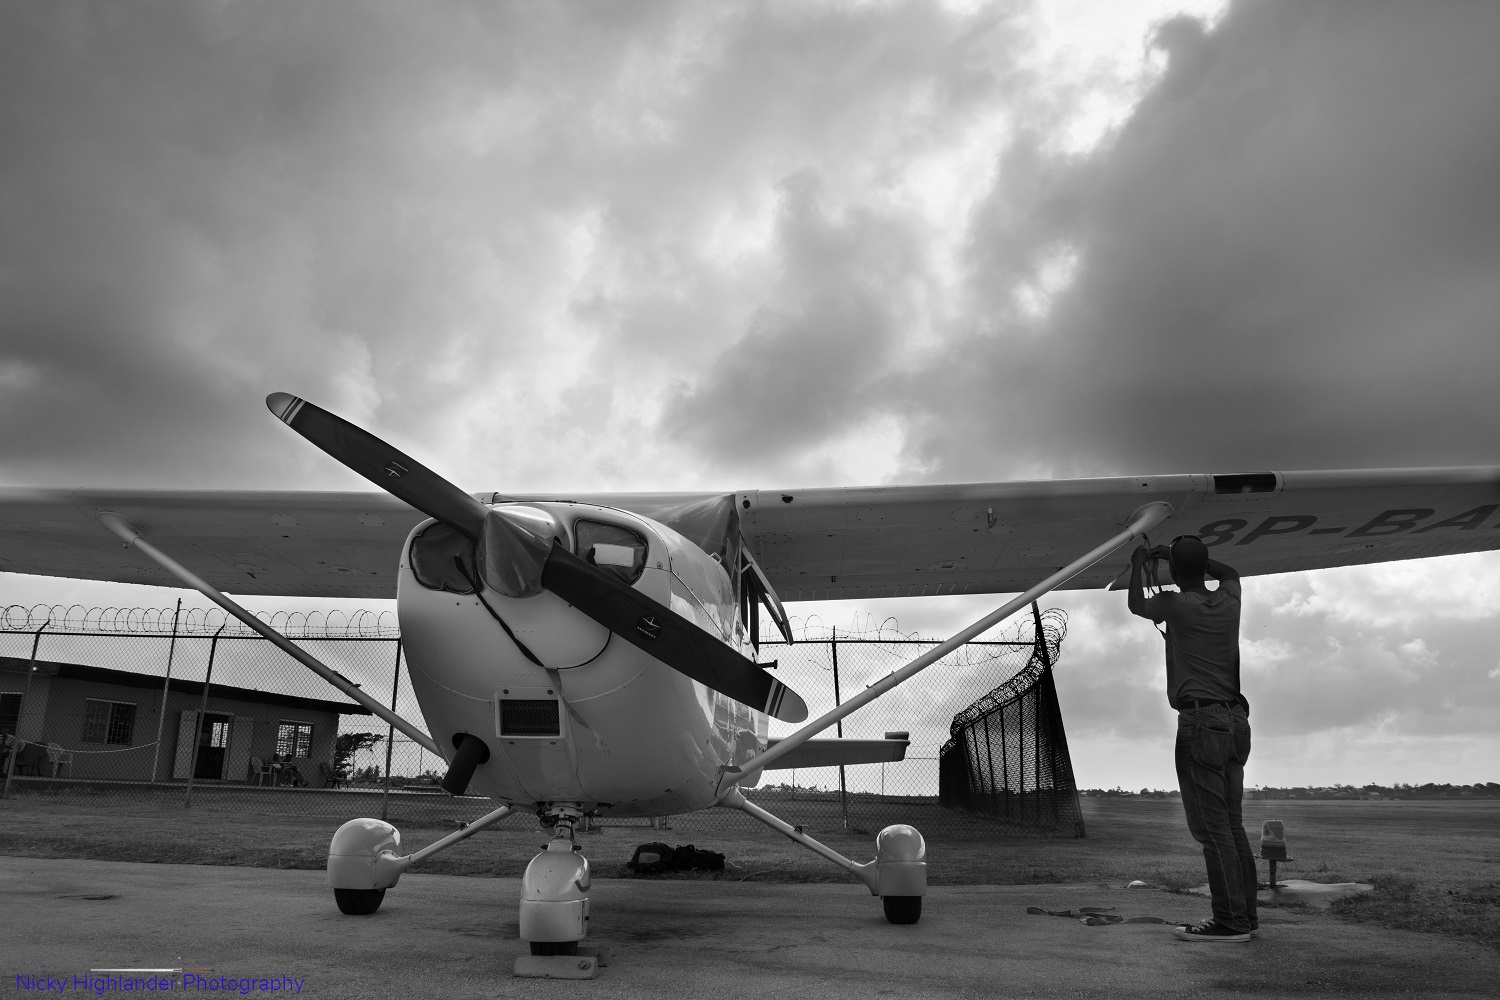
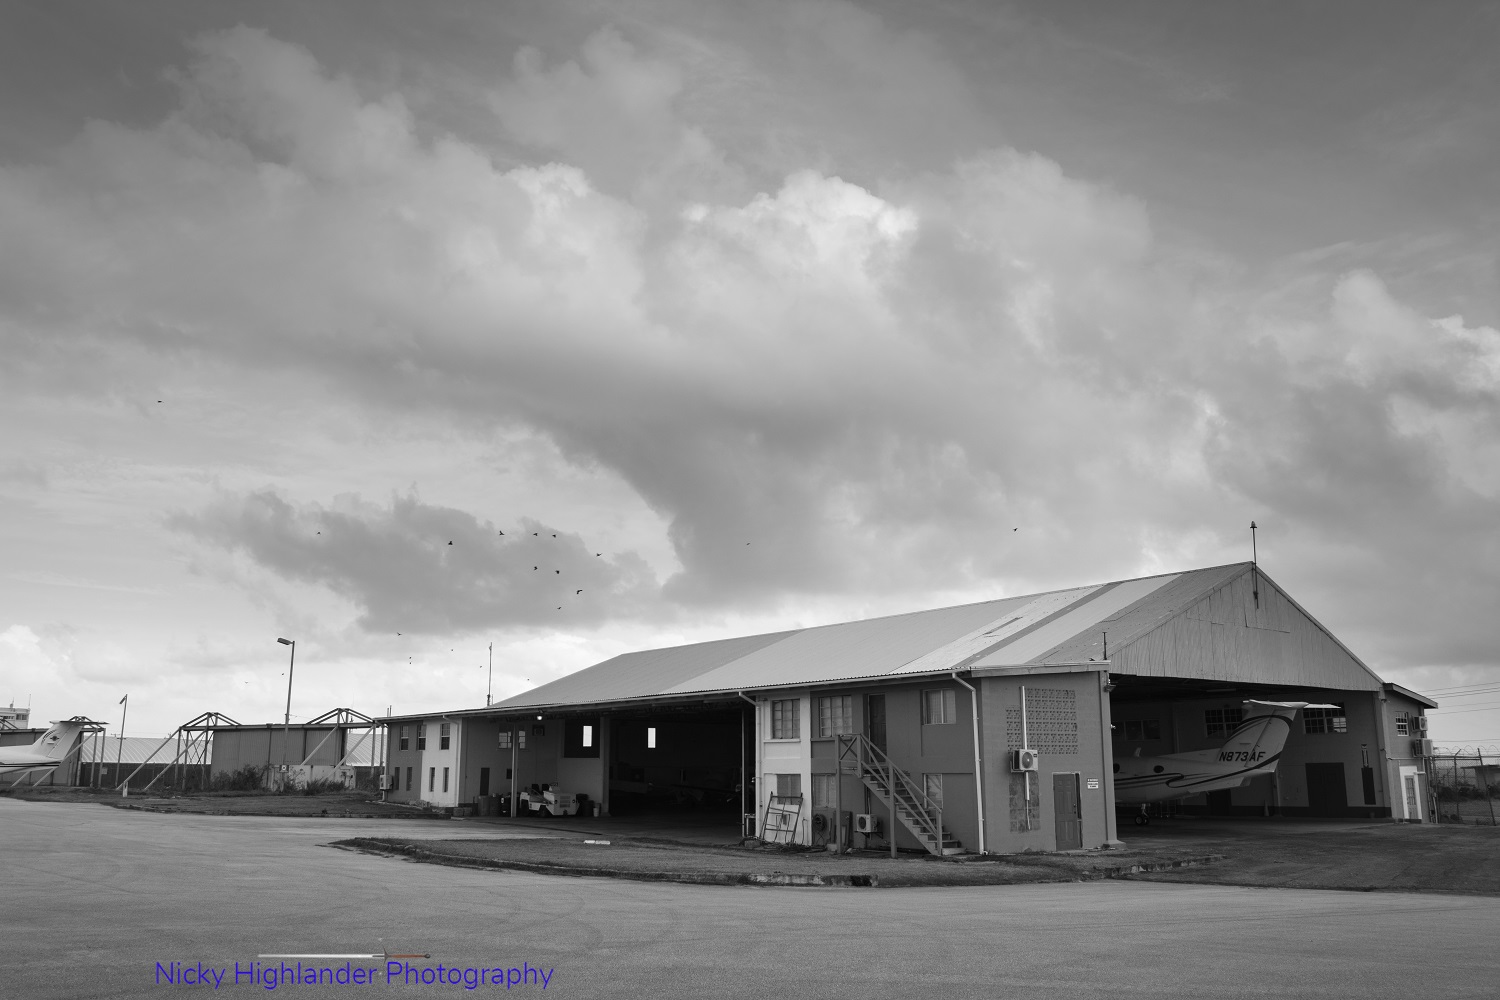
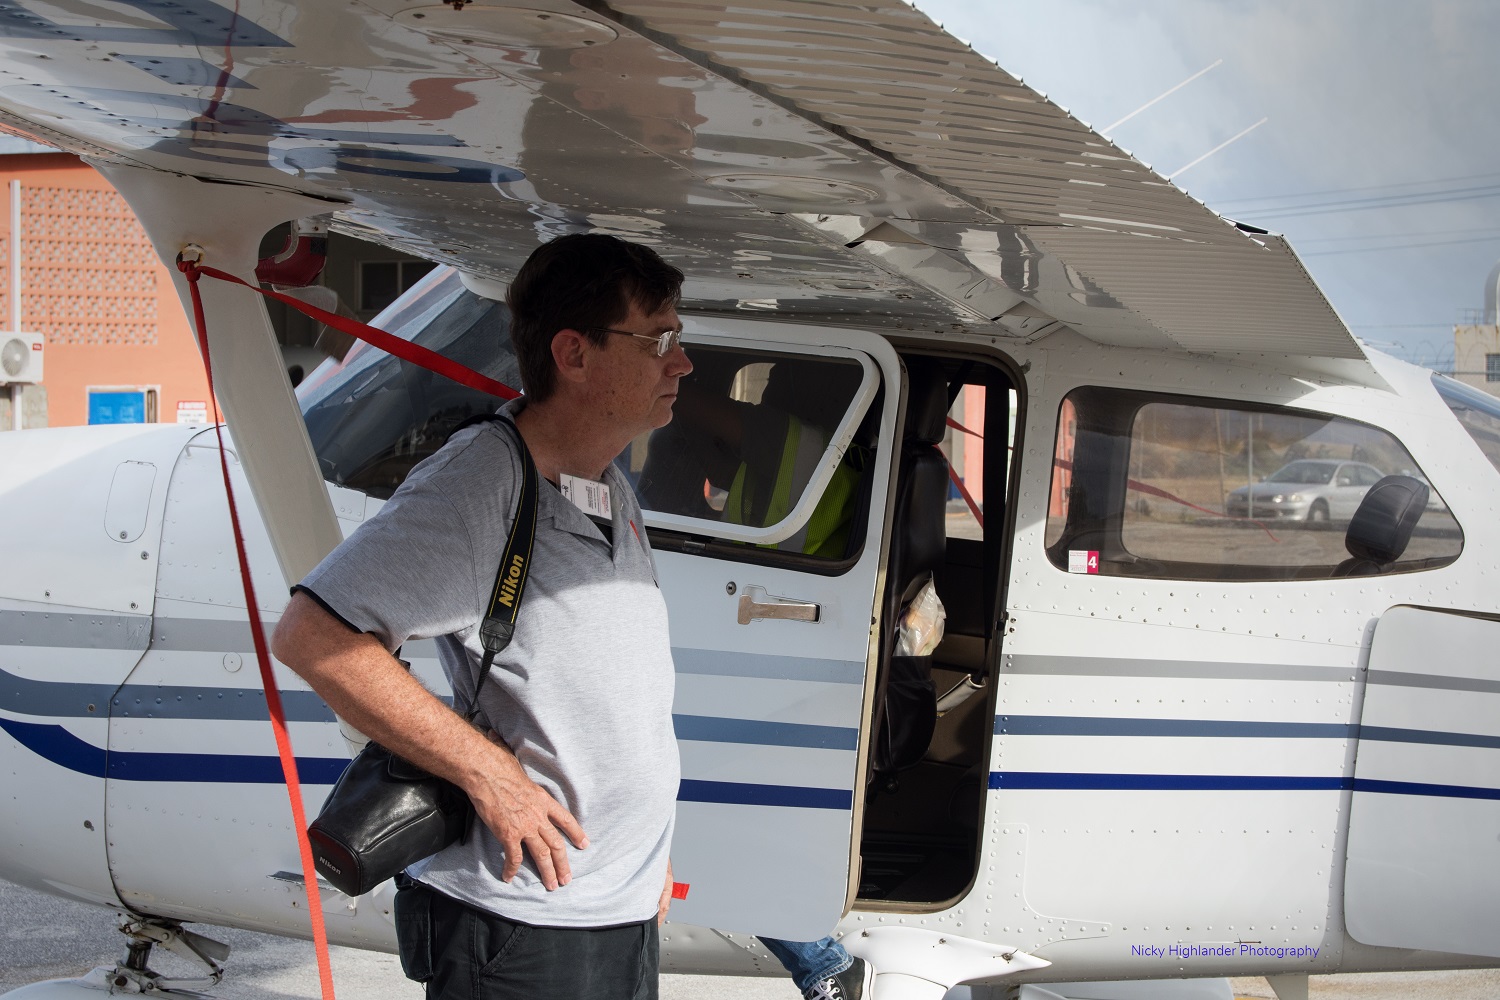
Going back to my project, what rules did I set for myself during my project? It was simple. First, shoot only on mobile phone (which is the point of this entire article). Second, edit only on the same device using a free photo app like Snapseed. Unofficially and lastly, edit within an hour of taking the shot. What happened, you asked? Well, I honestly had fun with it, way more than I expected to. Most importantly, I have changed my mind on mobile photography now. One of my favourite photography quotes says "the best camera is the one that's with you”.

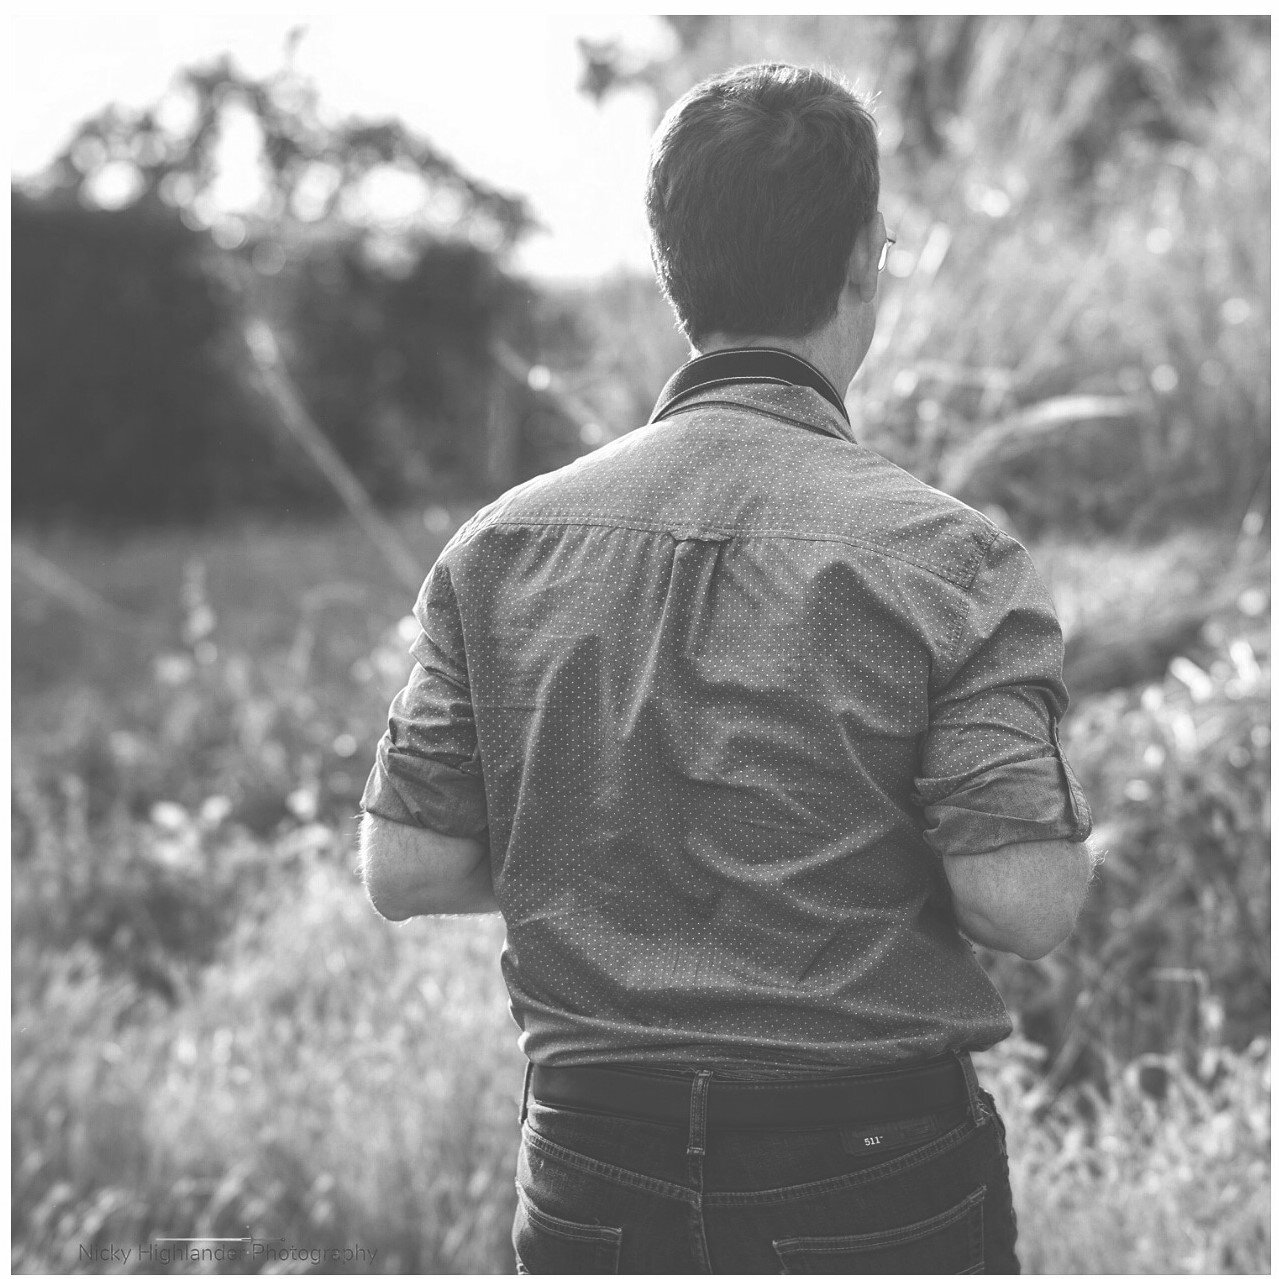
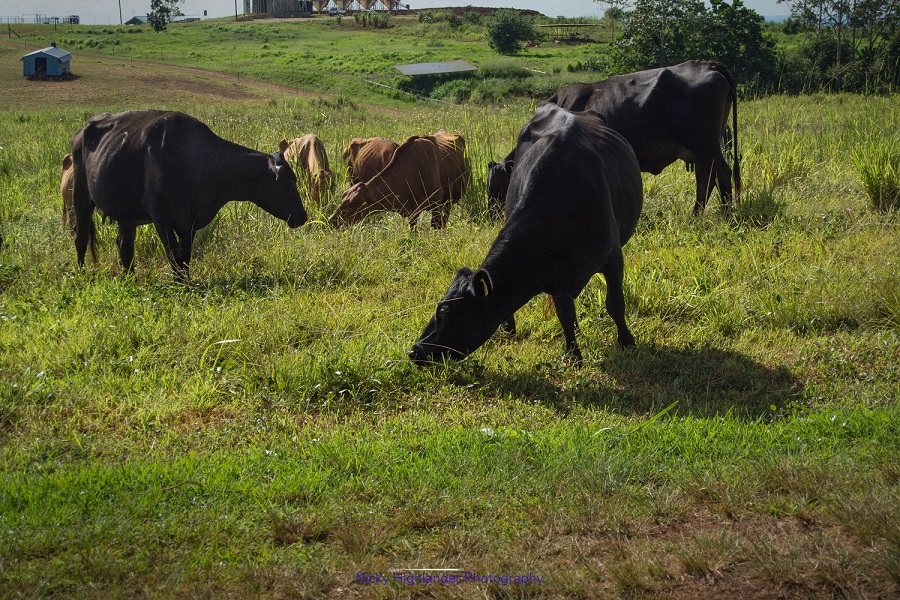
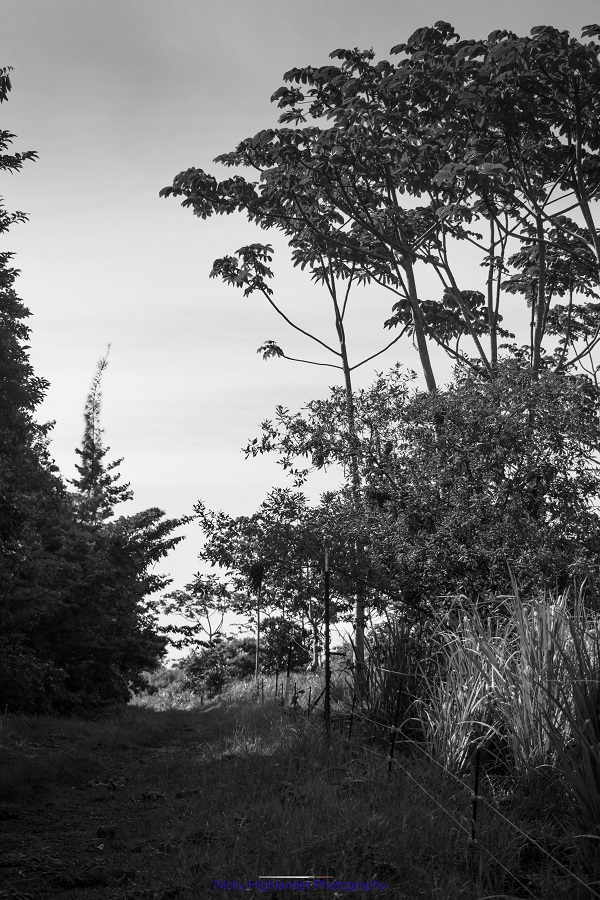
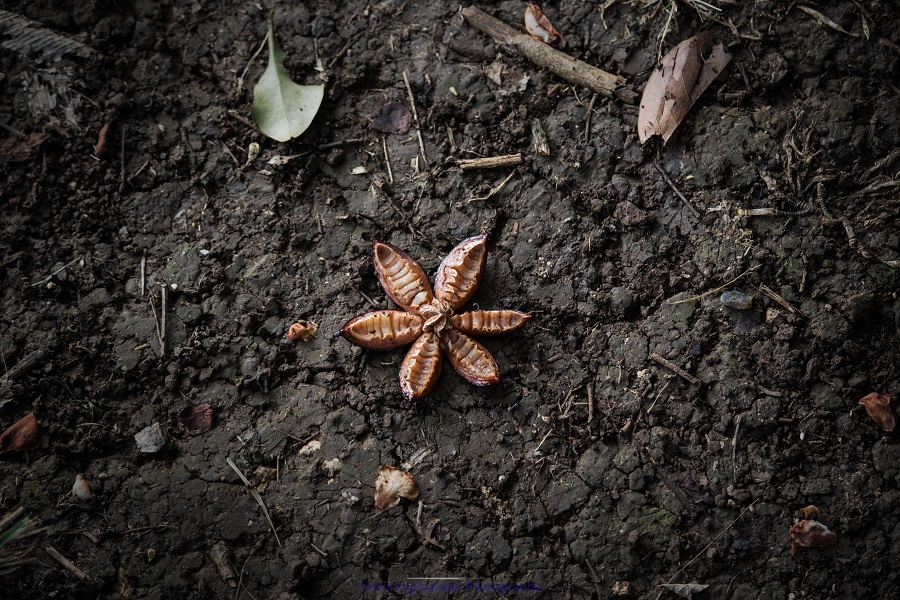
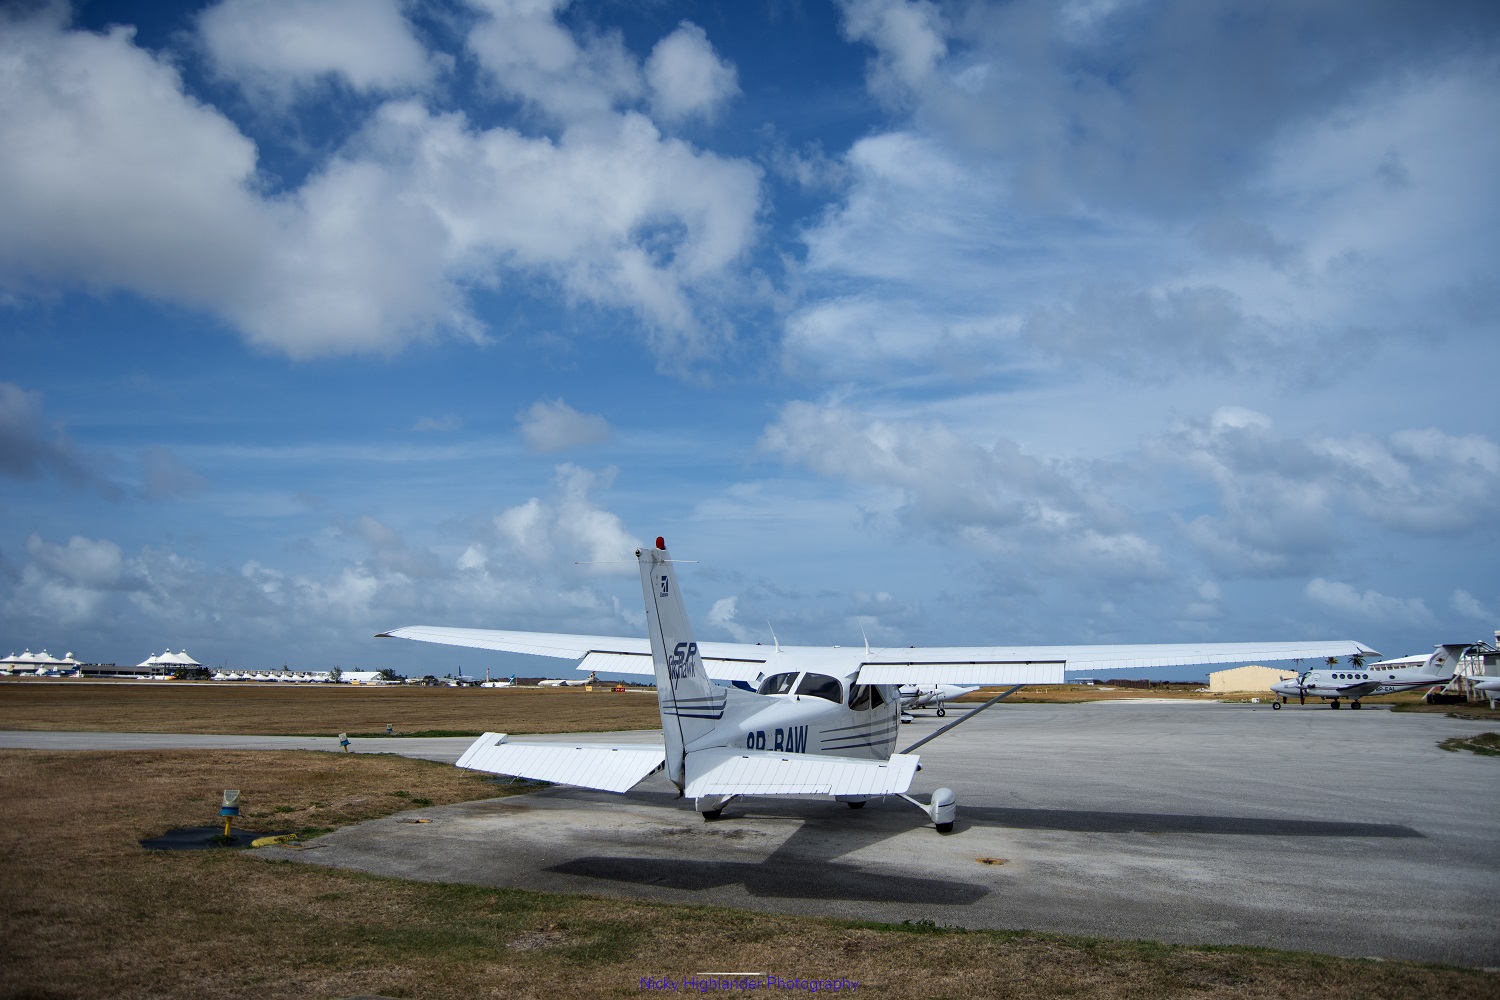
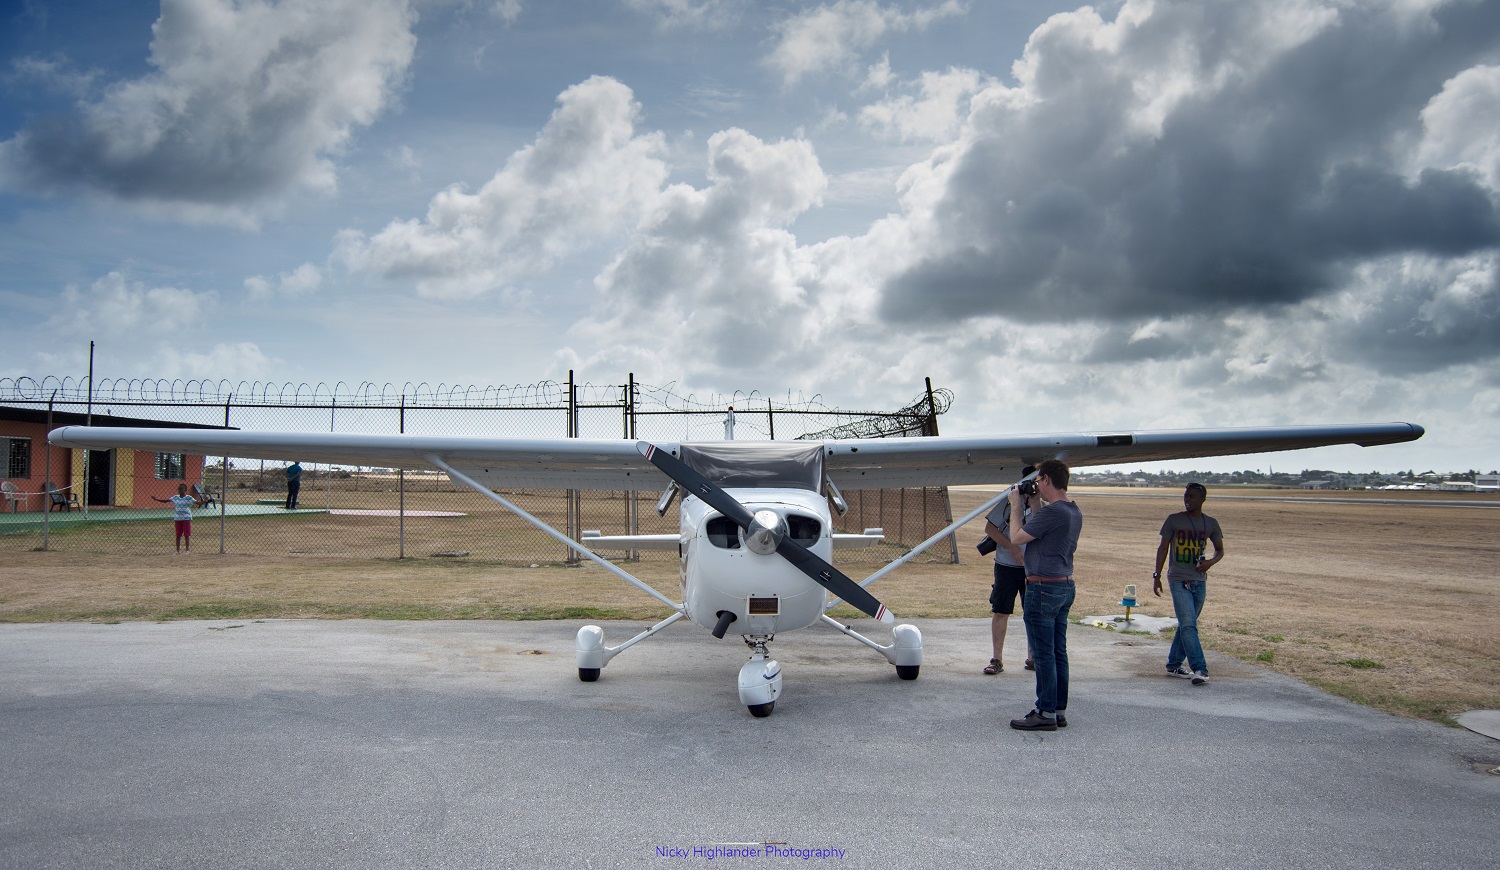
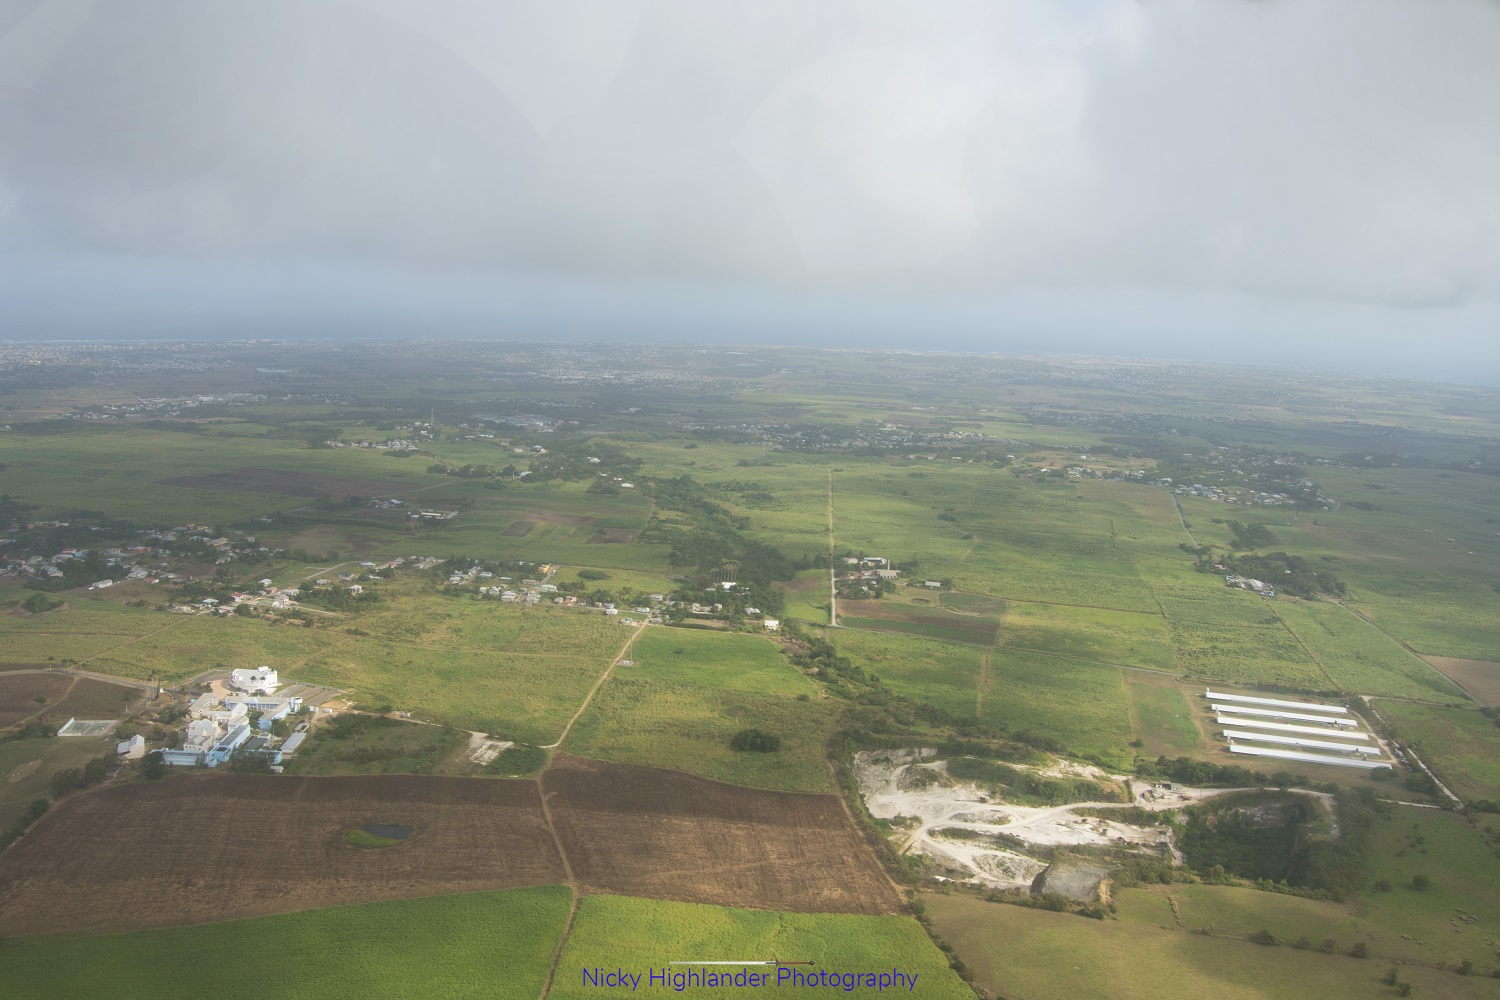
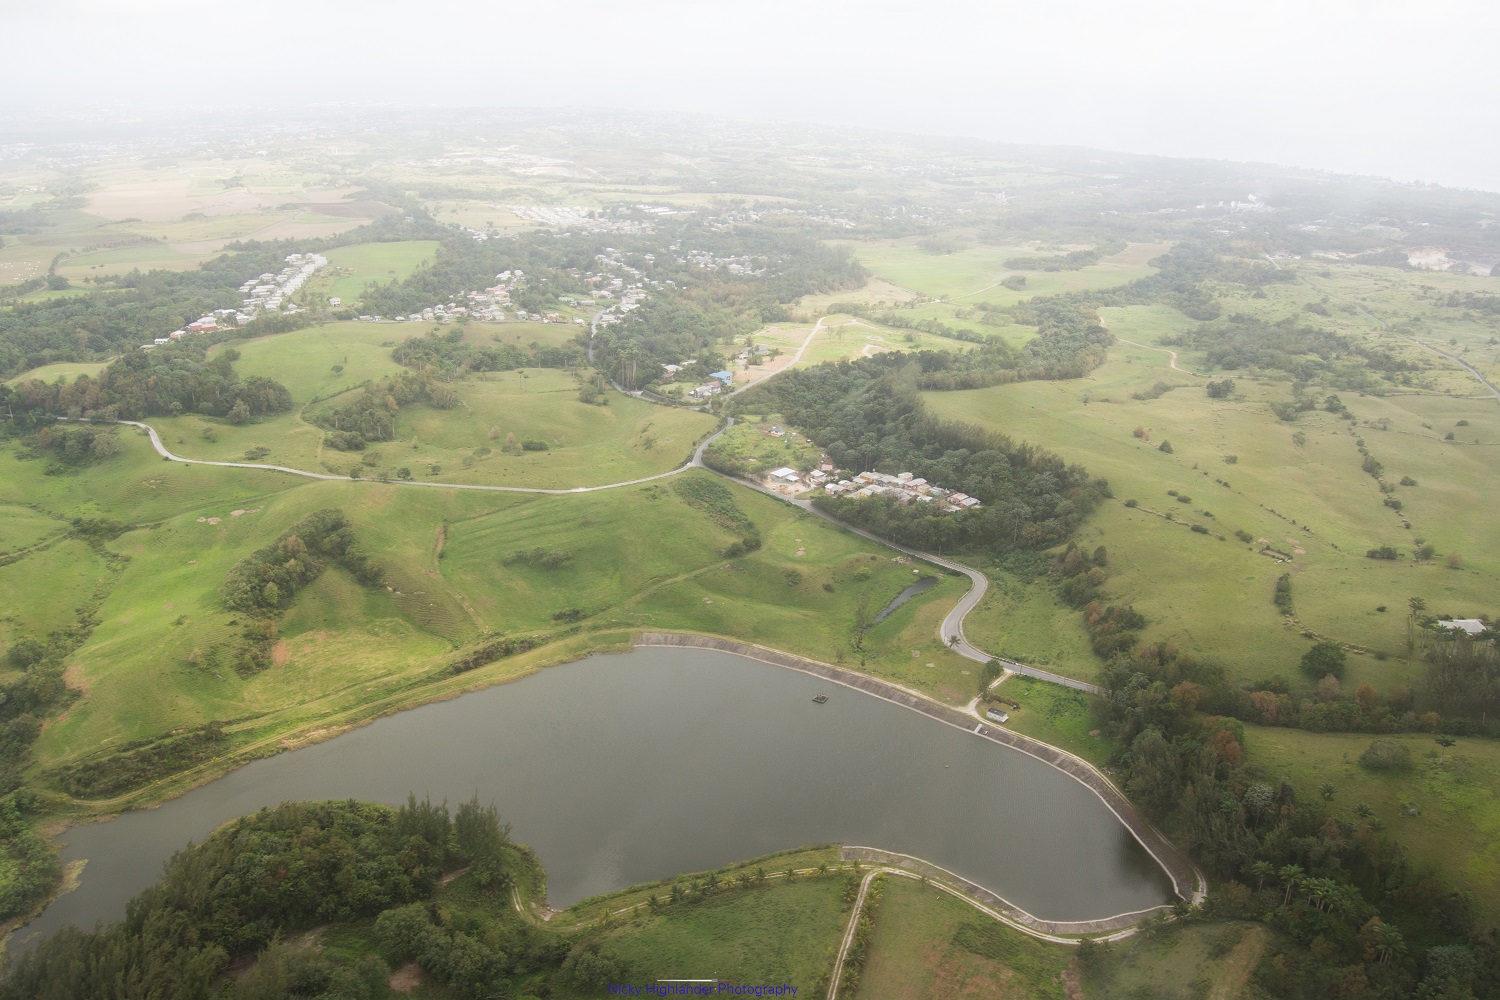
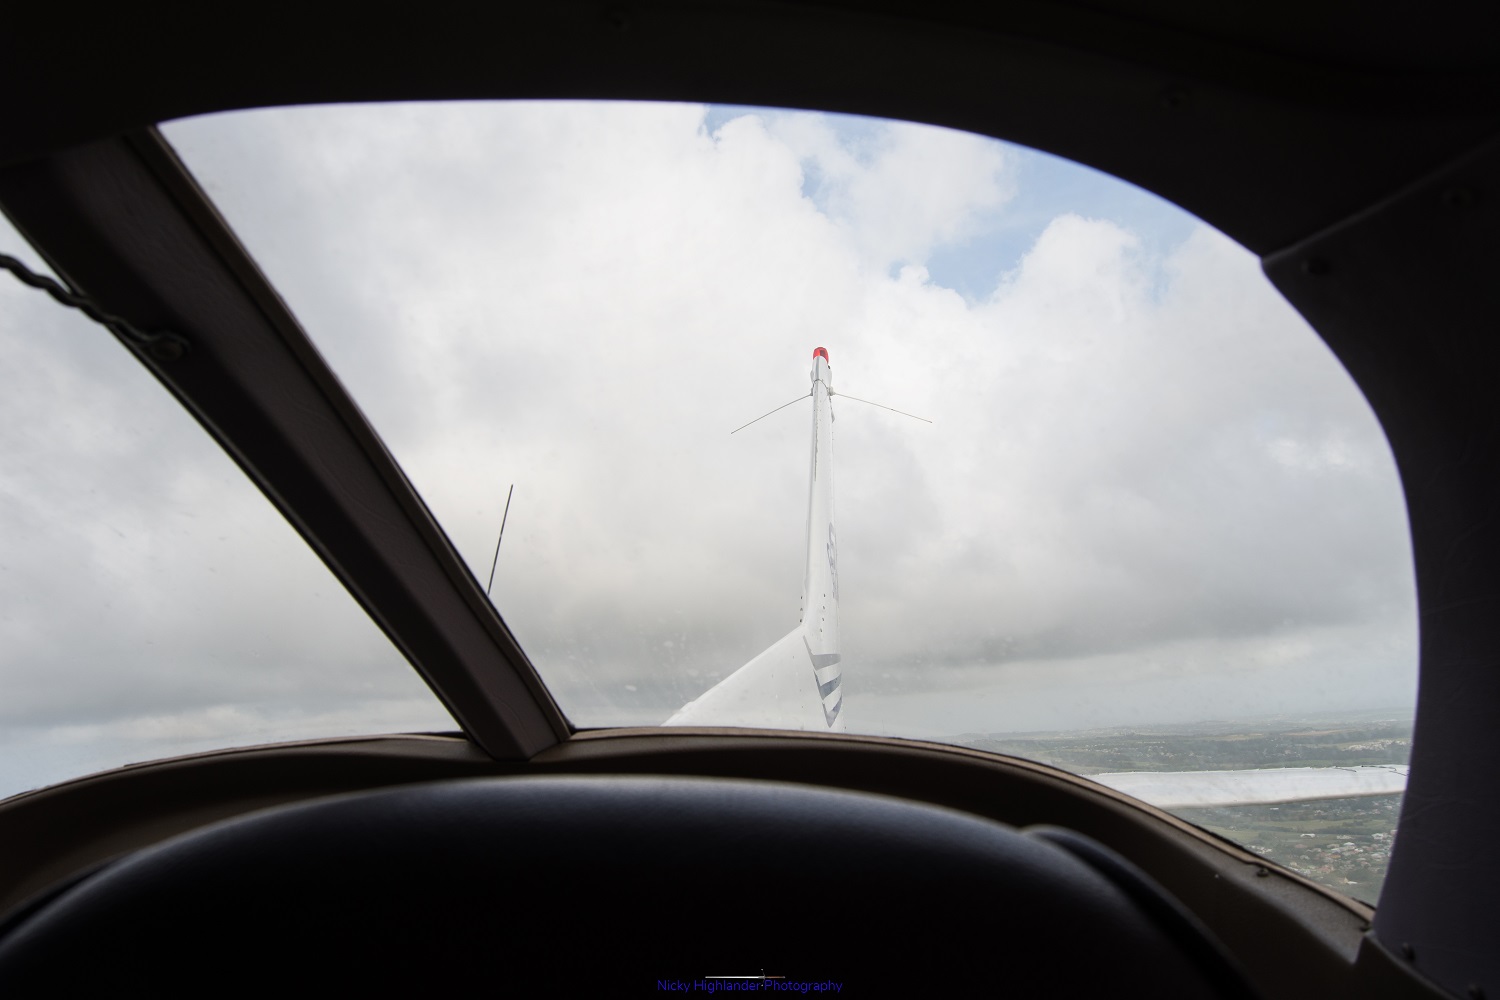
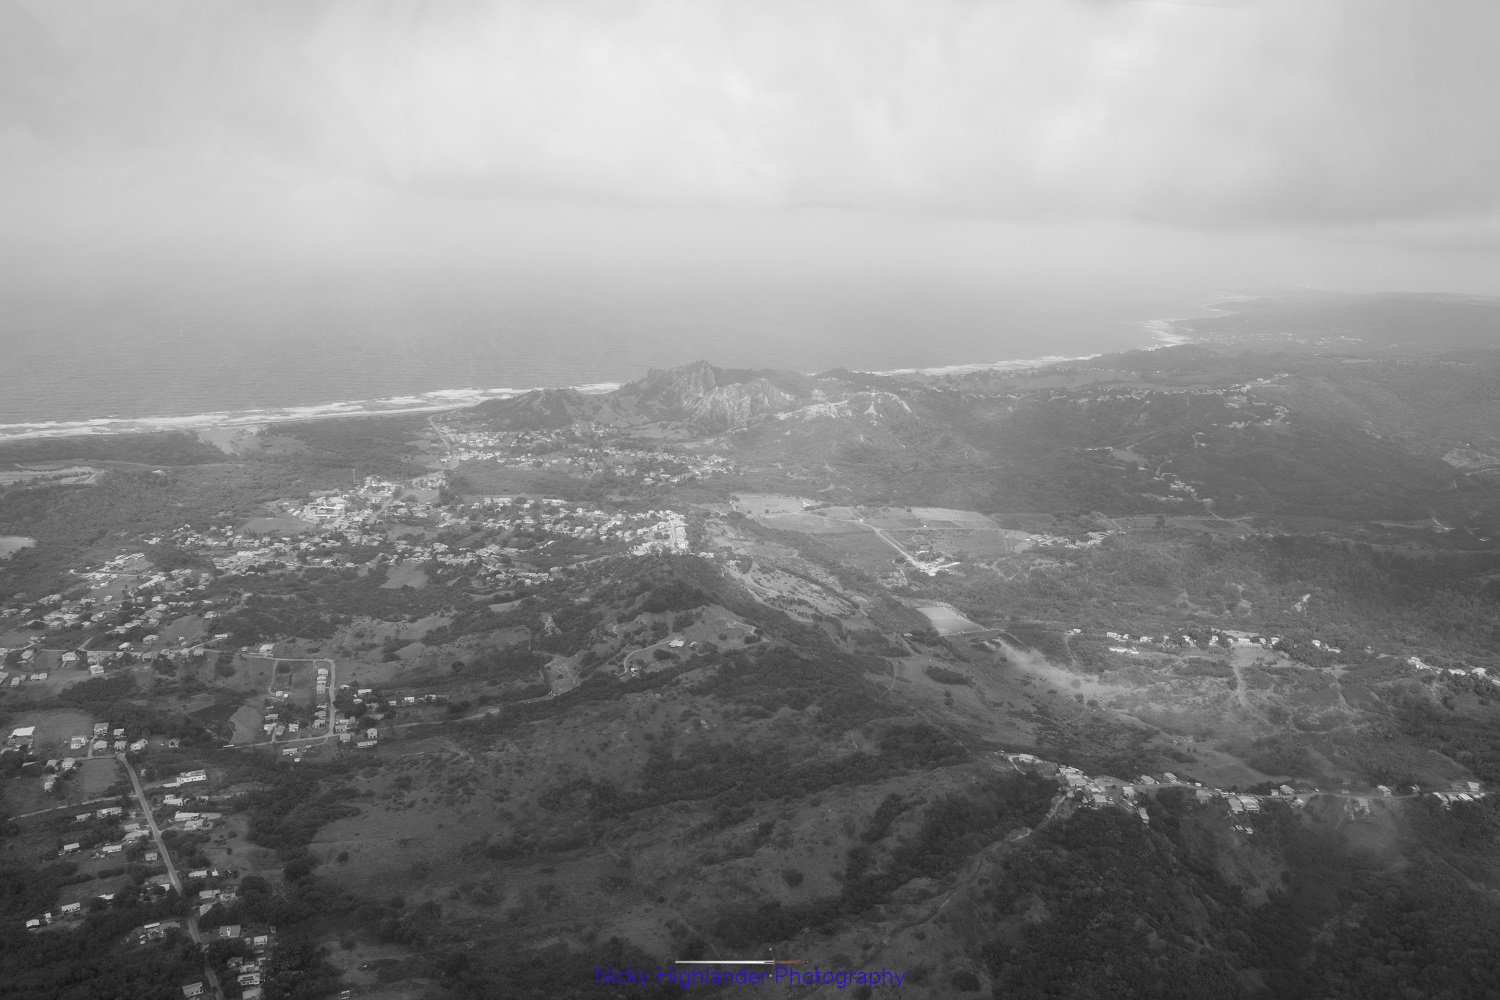
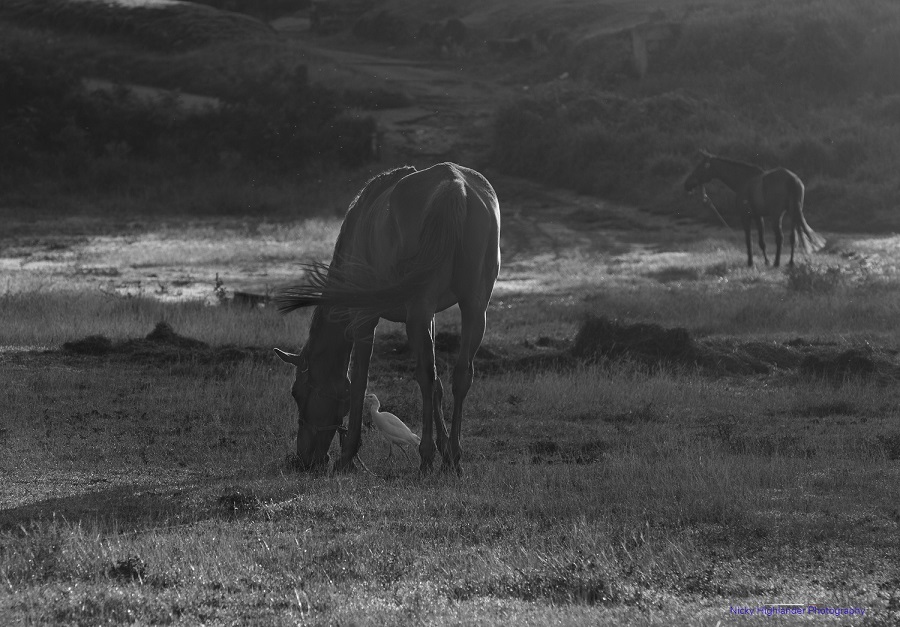
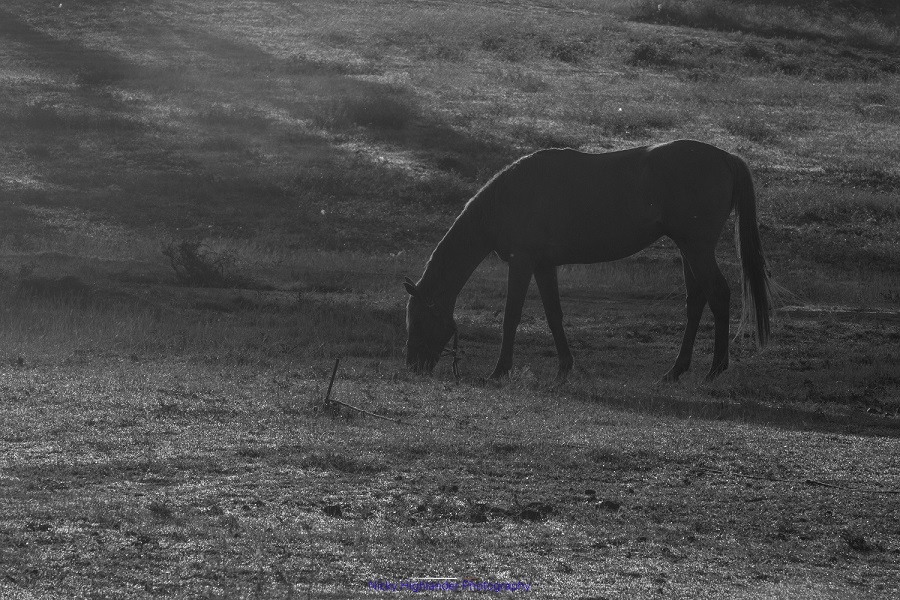
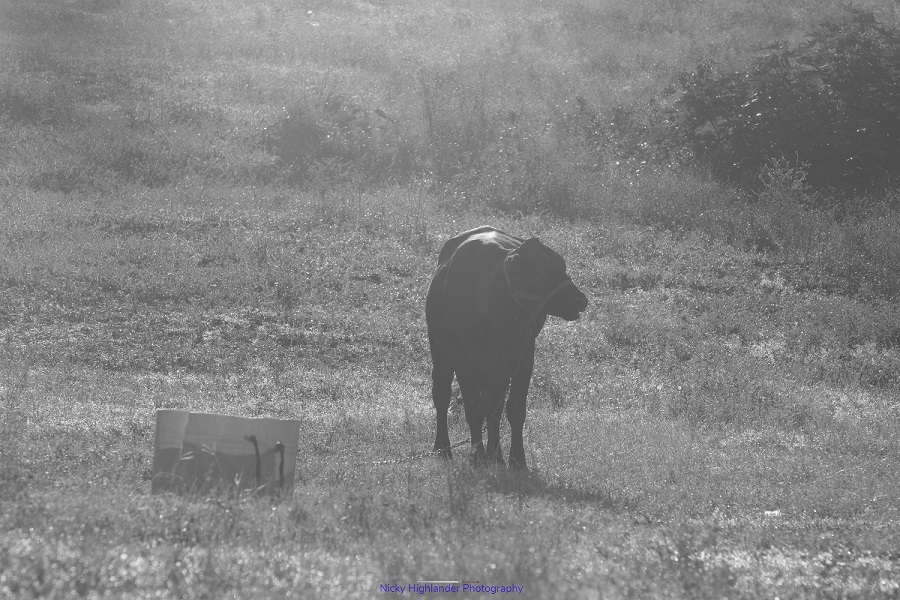
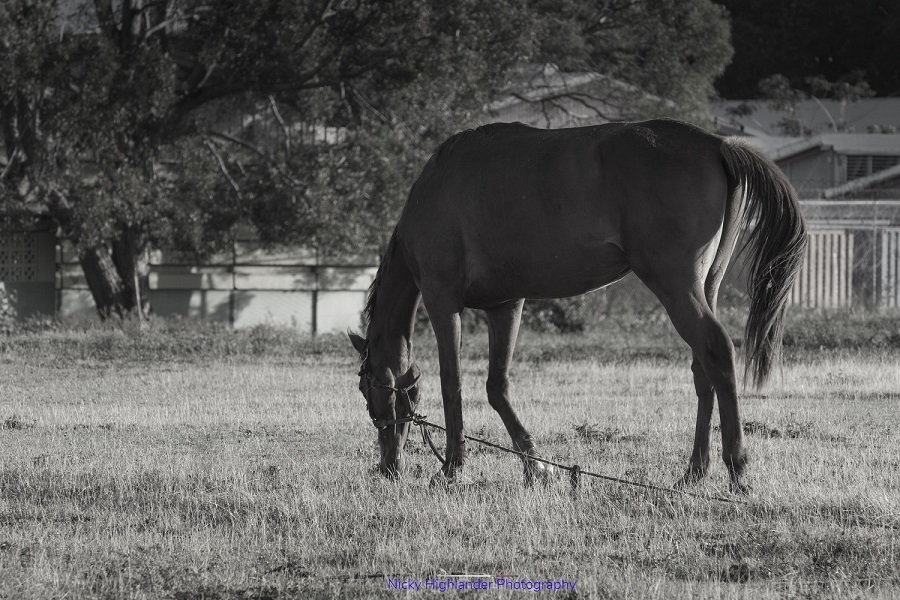
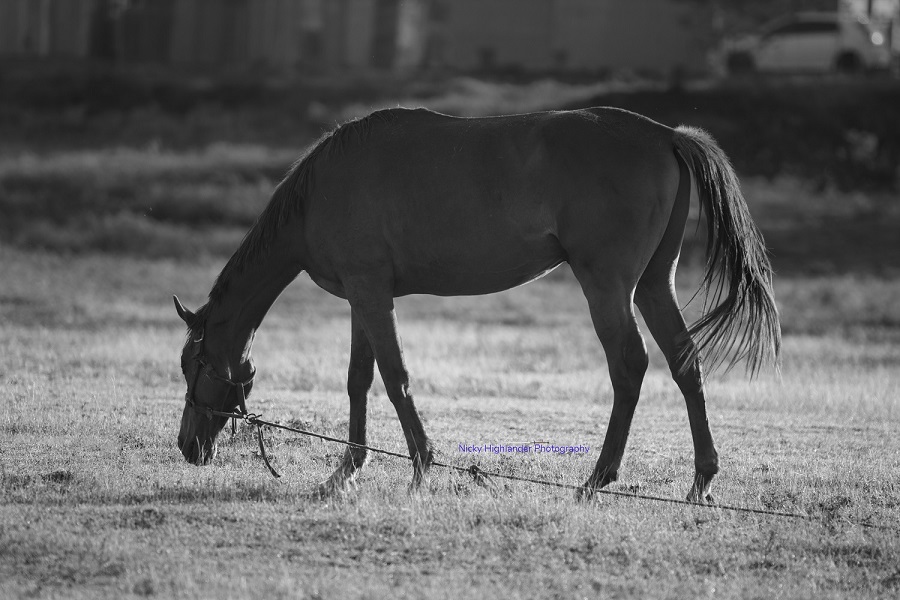
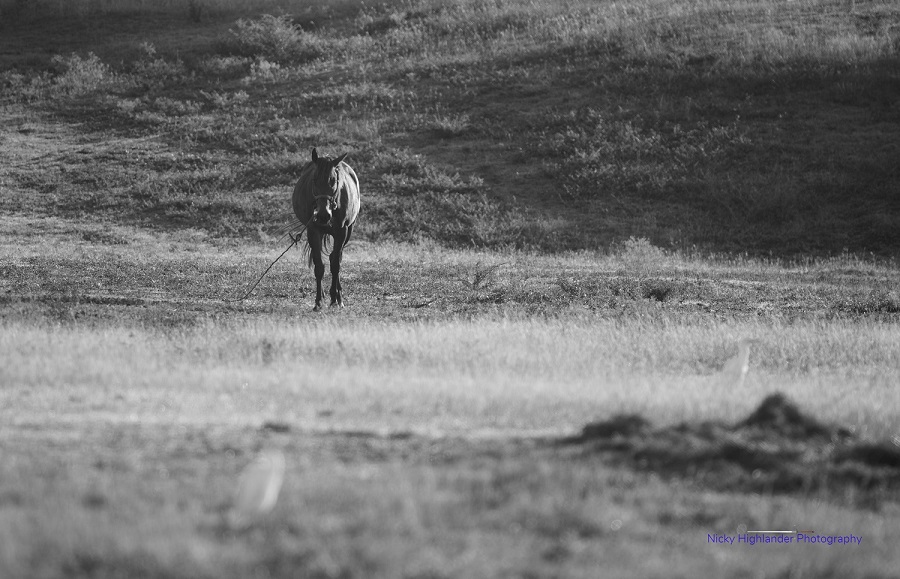
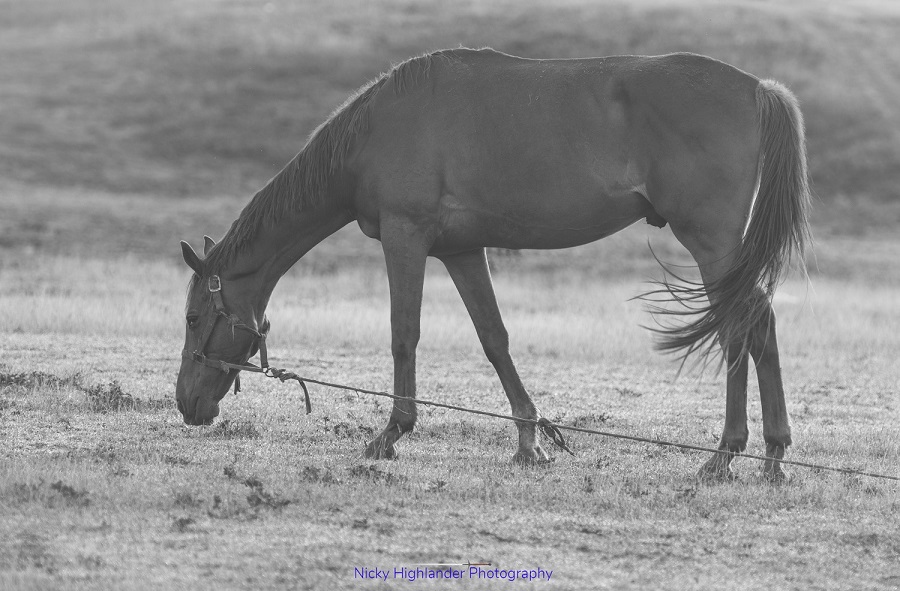
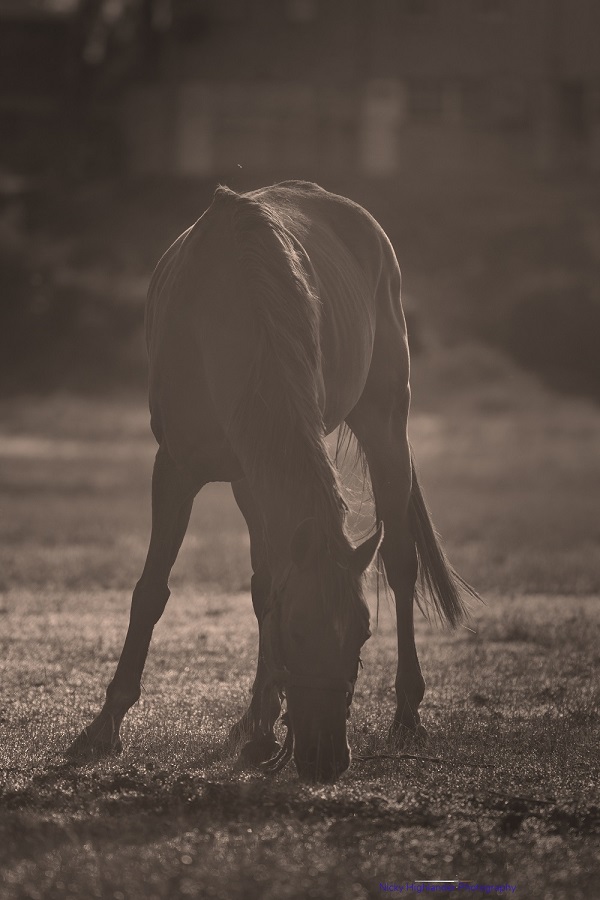
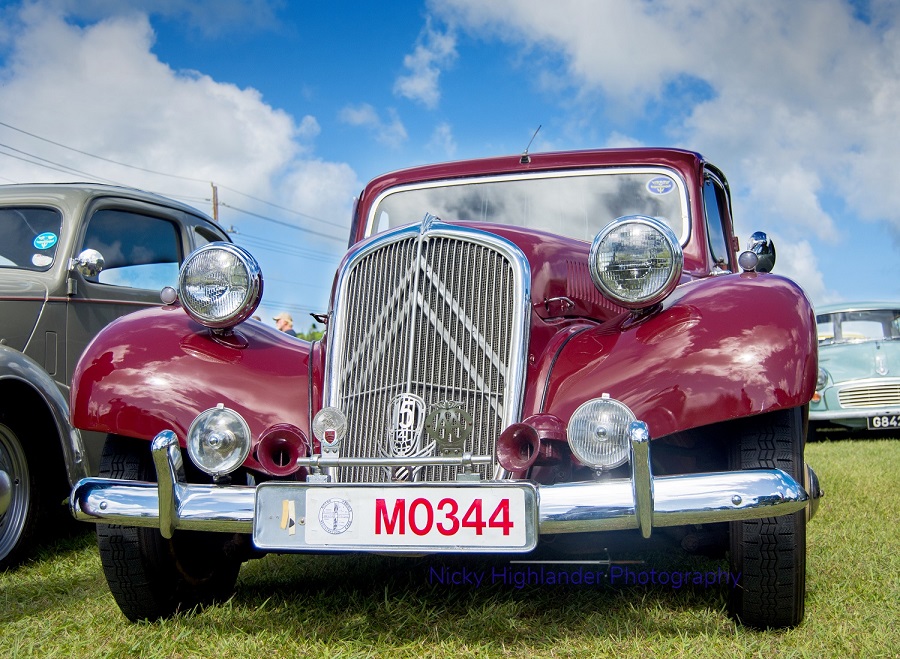
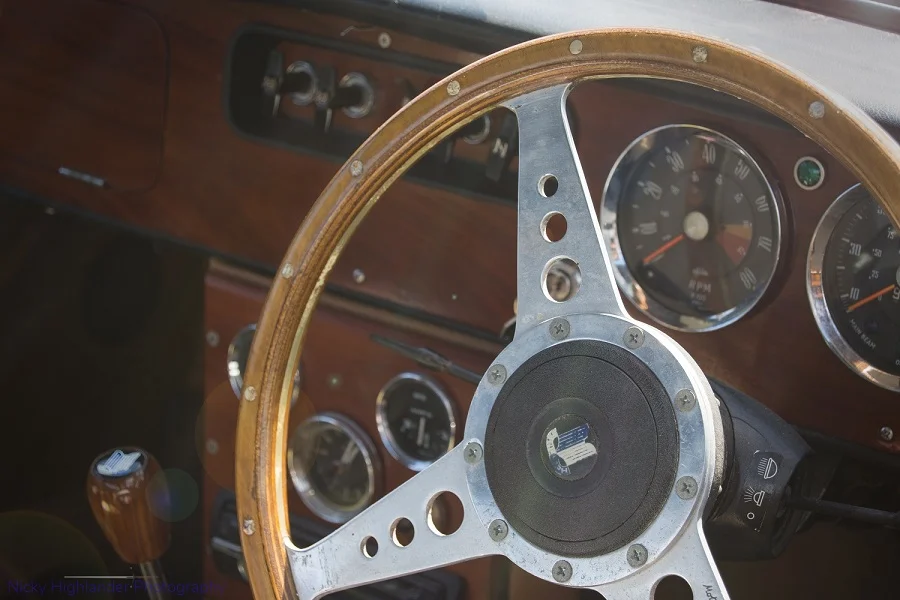
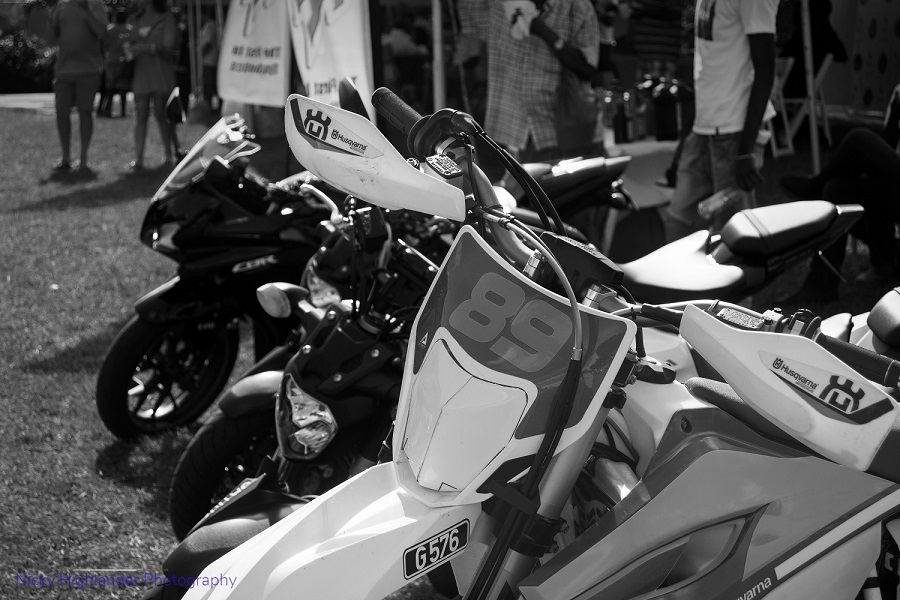
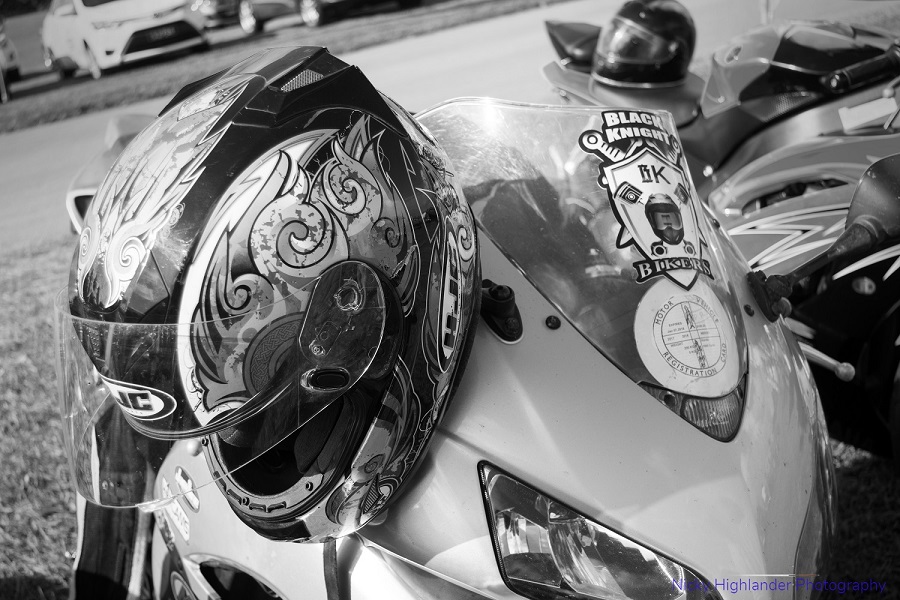
I'll let you judge the results. Feel free to share your own tips and photos with me. More to come...

How I Got The Shot - Adventure In Welchman Hall

One of my favourite bits of photography wisdom is "the best camera is the one you have with you". After all, the world won't wait until you go home to grab your Canon, Nikon or Sony, etc. to have that perfect shot. Personally  I'm not an avid mobile phone photographer. I'm more inclined to grab my phone to snap a notice or a sign that has information I might need later. But even the most faithful purists must admit that mobile phone cameras are improving at an intensely rapid pace. 

As much as I love my DSLR, I must admit that it pays to step out of your comfort zone. This realisation brings me to the story of this shot. Back in November 2019, my dear friend Sid came all the way from Edinburgh (Scotland)  to spend some time with me and my mum. Sid is the person who started me on this journey and even went with me to go and buy my very first DSLR. One of our photography outings was in the gardens of Falkland Palace (you can see a few of those images in my very first blog post). So I knew one of the first places that I wanted to take her was to Welchman Hall Gully.  Why? It's the perfect walk in nature with tons of plants and sometimes the wildlife comes by to pay a visit. It’s also next door to the famous Harrison’s Cave which is another spectacular attraction.

Every epic vacation needs an epic photo in an epic location. The gully has an abundance of trees, including towering bamboo, nutmeg, and prickly palms, as well as cave-like limestone formations. Wherever there is a healthy canopy, you can always expect some beautiful shafts of light if you look hard enough or happen to be in the right place at the right time. While on the designated footpath, we came to a side path that had fallen into disrepair. At Sid's suggestion, we stepped off the main path to go and explore a collapsed cave. And the light was amazing. So I grabbed her phone and the rest is as they say, history. 

In case you're interested in getting into mobile phone photography, here is the link to an article that I found with some great tips and examples to help you get started.

https://blog.hubspot.com/marketing/good-pictures-phone-tips 

Camera and equipment details:
Camera: iPhone
Lighting: Natural Light

Until next time.... 

IMG_0768.jpg

Portraiture Session: Bruce

It feels like it's been forever since the last update to my blog section. Those of you that follow me on Instagram (and Flickr) will realise that I'm still active on social media. But with every new year (and every new decade) comes new opportunities and new prospects. Hopefully, it also means a new chance at bringing old project ideas to fruition or making room for new ones. 

For now though, I have the chance to share some old work that I was keeping on ice for a bit. A while back, a dear friend (and fellow photographer) asked me about doing a photoshoot  for his website and Facebook profile picture. I thought this was a great time to do something a bit different, as well as help out a friend. It's funny but if you had asked me a few years ago about portraiture, I would have been skeptical of my abilities. But there's nothing like jumping into a project with an open mind and an open heart.

Photographing Bruce was pretty easy as we've been friends for such a long time. If I had to sum it up, I'd say it was more about two old friends having a conversation with a camera present. The hardest part was probably getting him to relax a bit and forget about the camera. I must admit that I am not a fan of directing my models, opting for personality over perfection. I prefer my client to see themselves or for their loved ones to recognize "that little thing they do with their head". 

In case you are thinking of starting out with portraits, here are a few quick tips that I found helpful, courtesy of B+H Photo Video:

  1. Build a connection with your subject. Make the process a collaborative one. 

  2. Note the lighting and environment carefully. Plan ahead!

  3. Watch the dynamics of your camera and lens. Some lenses are more flattering to certain body features.

  4. "The eyes are the windows to the soul". If the eyes of your subject aren't in focus, your image will suffer greatly, even if all of the other elements are perfect.

  5. Move in and out and get down on their level. This is especially true with children and pets. 

  6. Camera Settings: Take special care with regards to your White Balance.

  7. The Classic Look of Black & White. Personally I love black and white portraits. Why? Black and white can convey a certain mood, emphasize facial features and textures or transport the viewer to another time and place.

  8. Shoot in Raw File Format. Never mind the large file size, you'll be happy for the extra information when editing or making prints.


For further reading, be sure to check out this link to the original article here: 
https://www.bhphotovideo.com/explora/photography/tips-and-solutions/seven-tips-every-beginning-portrait-photographer-should-know?BI=7367&currency=EUR&gclid=EAIaIQobChMI9OGe1cKz5wIVSNyGCh1JtABxEAAYASAAEgKxgvD_BwE 

Camera and equipment details:
Camera: Nikon D7200

Lenses:  Nikon 85mm F1.8 G Auto Focus-S 

Lighting: Natural Light

Until next time.... 

Revisiting

I don't often revisit a previous theme. I am the kind of person who loves short term projects usually. But when I've found a passion, I can pursue and explore it exhaustively. Such is my recent discovery of PEG Farms Nature Reserve (see last post). Since the initial visit in June, I've made a point to return as often as I can. Fresh air, beautiful surroundings and fresh produce are very inspirational.

It's important to note that sometimes long term projects can lag and lose steam. Your original vision/views can shift or you can lose focus or passion altogether. Therefore it's often good to revisit an idea or a place. Seeing old work through fresh eyes can bring new perspective. If you have realised that this is happening, I've found these 8 steps from Trello to be useful in jumpstarting that creative spark again:

https://blog.trello.com/8-ways-to-apply-a-new-perspective-to-a-dragging-project 

Camera and equipment details:
Camera: Nikon D5200

Lenses:  Nikon 18-55mm G VR DX AF-S Zoom,  Nikon 55-300mm VR DX AF-S, Nikon 85mm F1.8 G Auto Focus-S 

Lighting: Natural Light

Until next time.... 


Facing Fears: A Cinco De Mayo Adventure

All of my friends know that I love to travel. But while I love seeing new places and countries, I don't feel the same way about flying....or rather the act of flying. And the smaller the plane, the more I tend to get that sinking feeling. My friend Bruce has been a bit of an aviation buff for many years. He can easily tell you the names and paths of just about every type of plane landing at the airport. So when a mutual acquaintance of ours made a suggestion to take a short flight around the island (for his pilot's license requirements), he was ready to jump at the chance. I will admit that I was lukewarm to the idea but their enthusiasm was infectious. 

Maybe it was time to try something new. So, even with the initial misgivings, I decided to jump in. The first flight got cancelled due to the weather but the second one looked good. So on May 5 2018 (Cinco de Mayo), I decided to bite the bullet and packed up my camera to take in a side of Barbados not seen by many. I've been on a plane to and from Barbados before, but never circling the island at around 2,000 ft. And what an experience it was. For the aviation buffs reading this, our plane was a reliable Cessna 172 Skyhawk courtesy of the local aviation club. It's a four seat, single engine aircraft and surprisingly easy to push (easier than a car). Total flying time was exactly 30 minutes to complete a rough figure 8 shape. 

I came away from this experience with a greater appreciation for my beautiful island and a few aerial photography pointers:

  1. Figure out your flight plan, ask questions and do your preparation. How long is the flight? Do you take or require medication?

  2. Take a good zoom lens.

  3. Follow your flight safety rules and listen to your pilot. 

  4. Be patient.

  5. Fast shutter speeds above 1/500s. 

  6. Remember the glass (assuming that you are in an enclosed aircraft) and the location of the sun. 

Special thanks to our fabulous pilot, Mr. Ade Alleyne who kept us entertained while pointing out some famous landmarks. And finally thanks to the Barbados Light Airplane Club for hosting our group as visitors for the afternoon. 

Please enjoy the short video that I put together and the images in the gallery below. I might do this again, never say never.

Video Link: https://www.youtube.com/watch?v=ytgEu8GE_8E&feature=youtu.be

Camera and equipment details:
Camera: Nikon D7200

Lenses:  Nikon 18-55mm G VR DX AF-S Zoom

Lighting: Natural Light

Video: Lenovo TAB 2 A10-70L

Video Editing Software: Adobe Premiere Elements

Until next time...do what scares you. 


Horsin' Around: Easter Monday Jaunt With Some Horses

I have been trying to get back out to shoot again. I've always found one of the best ways to cure a creative drought is to find a personal project. A personal project may be a short term assignment or a longer term exploration of a particular theme. This may be easier said than done, as with most creative endeavours. For me, the idea of having a long term goal tends to allow the creative mind to periodically reset. For the longest time, I have observed some horses tethered on a pasture on my usual route to work on most mornings. I have wanted to be able to photograph them in early light. So when I finally saw an opportunity on Easter Monday, I grabbed it with both hands. Rising early with camera in hand, I packed up the car and headed out to my location. Luckily the main attraction in this area is the beach. The other people who were around at this time, were on the other side of the road enjoying a dip in the cool seawater.


Why did I choose horses? Well, why not? Horses are such powerful, dynamic and enigmatic subjects, in my opinion, with any number of meanings in classical and contemporary artwork. And in this regard, I felt it worthwhile to do something a bit different in the post production and convert this series into black and white and monochromatic images (generally speaking). Also I made sure to choose one lens for my minimal gear as I had a short time frame to work within.


After my short time outside, I feel that I've barely touched the surface of this theme. Thus it bears revisiting in the near future and I'm excited about that prospect. Don't be surprised if you see more of these popping up in future blog posts....


Camera and equipment details:
Camera: Nikon D7200
Lenses:  Nikon 70-200mm F2.8 VR DX AF-S
Lighting: Natural Light

Until next time...


Something Different

In my last post, I briefly mentioned that I had the opportunity last year to go to my first vintage car show. Now I must admit that I had never considered shooting cars before this even after a few invites from my very talented friend Byron Morris aka Vizionz '93 (@vizionz93photography on Instagram. But ever the explorer, I decided to grab my camera and give it a quick try on a Sunday afternoon outing with friends. Even with a long time between the shoot and editing, I must admit that I was pleased with the results. See how they came out in the gallery below.

Regarding the editing process, I used Photoshop Elements 11 for such things as exposure and colour correction. Some images required a more technical approach. For these images, there was replacement of the sky and background and some cloning and spot correction. I don't consider myself to be a photoshop/editing expert but I was glad for the chance to exercise this creative muscle. I'd love to have a bit more gear to experiment with, next time around.

Sometimes necessity is the mother of invention and this quick shoot was a great learning experience for me. At any car show, expect to see a lot of people milling around and sometimes drifting in and out of your shot. I've discovered that if you're shooting at a car show, you either need patience, some good editing skills or both! And people can add to your shot, depending on what kind of story you want to tell. A car show isn't necessarily just about the cars unless your focus is strictly advertising work. Whatever the direction you decide to go in, be sure to try stepping out of your comfort zone. Take the opportunity to practice those skills which you may be weak in or consider to be intimidating. 

Camera and equipment details:
Camera: Nikon D7200
Lenses:  Nikon 18-55mm G VR DX AF-S Zoom, Nikon 55-300mm VR DX AF-S
Lighting: Natural Light

Be sure to check out Byron's work on his website. I can only endeavor to be this good one day.

 (https://www.vizionz93photography.com/automotive/).